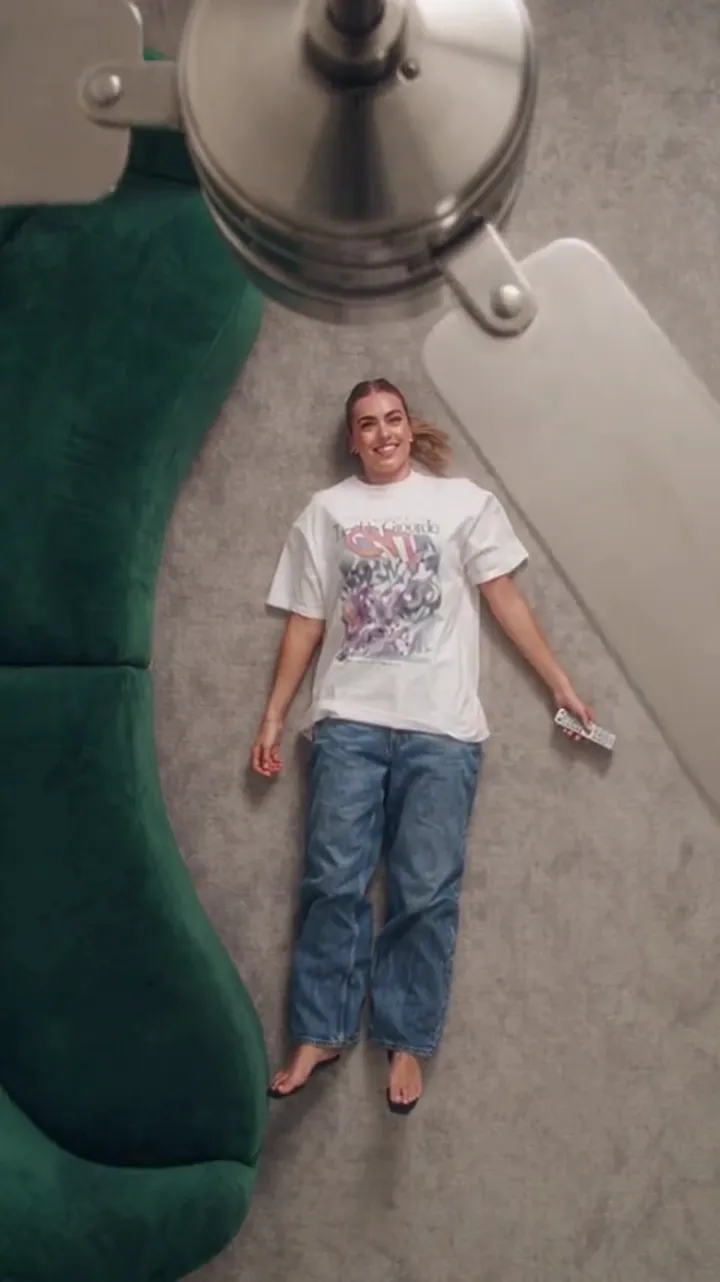
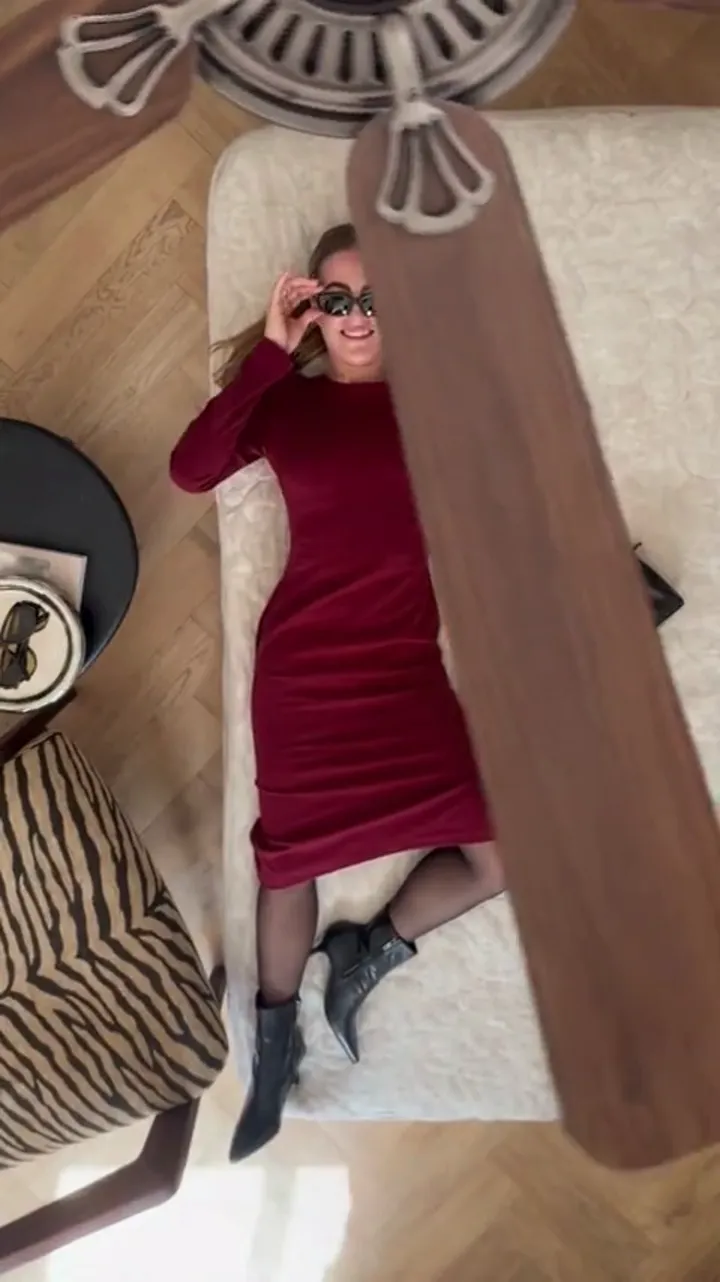
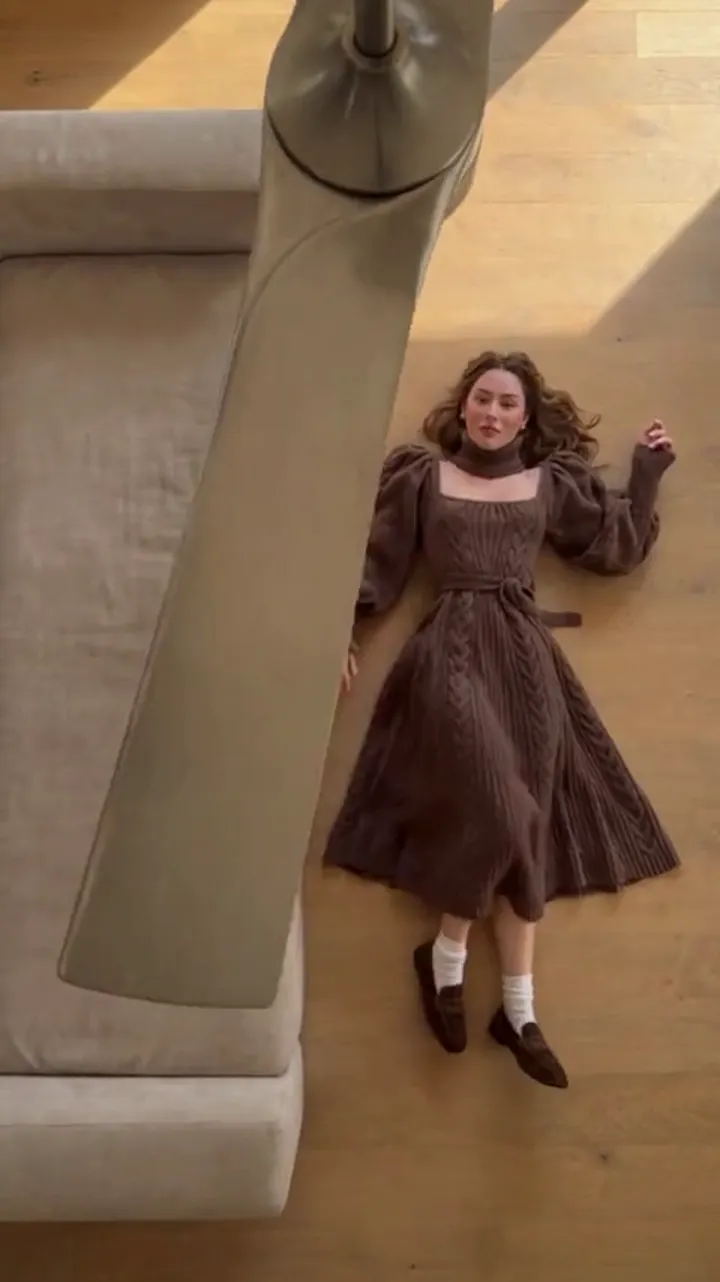
What Photo Works for the Ceiling Fan Transition, and Why
Pick the photo that makes the ceiling fan transition read: the lighting, the framing, face visibility, what to avoid, and how many outfit photos to add.
Ceiling Fan AI editorial team · Updated October 12, 2026
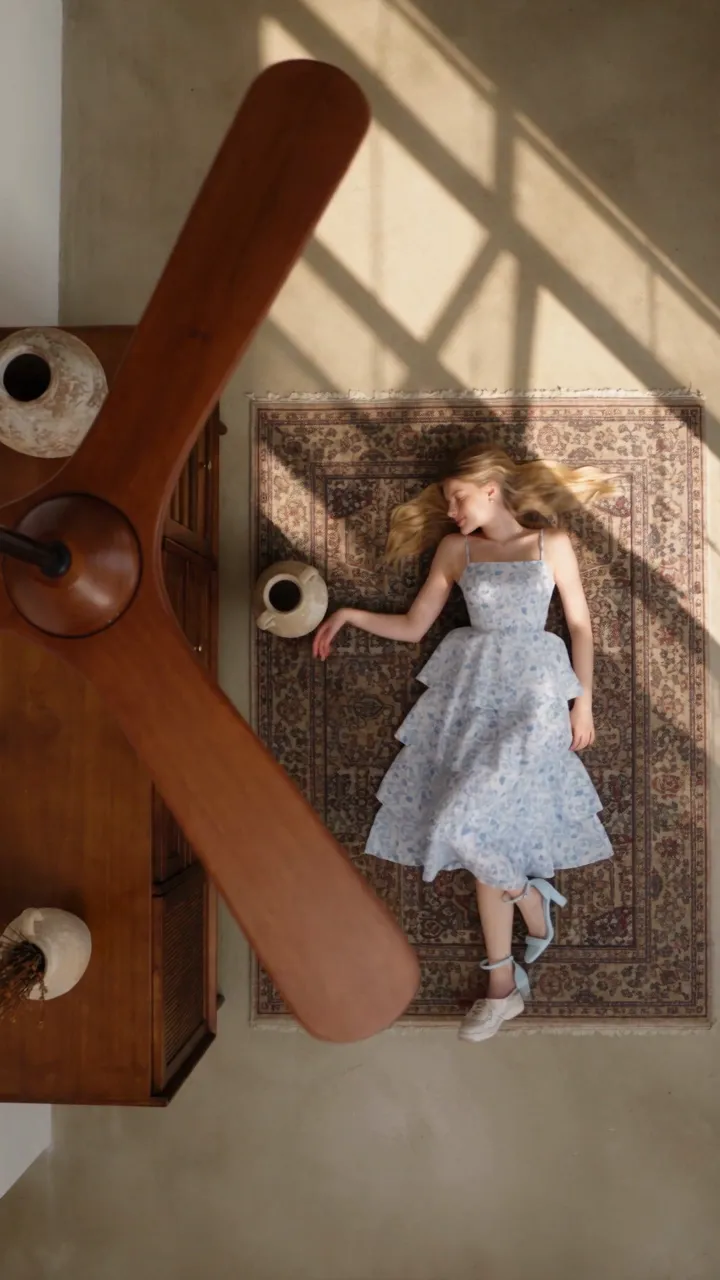
The ceiling fan transition keeps a person's face, hair and build while the clothes change from pass to pass. That single rule explains almost every photo problem people run into. The tool has to read your identity from one image and then reuse it several times in a six- or twelve-second clip, so a photo where the face is small, dark, or partly hidden gives it very little to hold on to.
The good news is that the requirements are ordinary. You do not need a studio, a second person to hold a light, or a professional camera. You need a clear, evenly lit photo where the face is visible and the body is not cropped in a way that hides what the outfit does.
The two jobs a photo does
A photo in this workflow does one of two jobs, and mixing them up is the most common source of disappointing results.
The first slot is the person. That photo supplies the face, hair and build that persist across the whole clip. It should be the clearest photo you have of the person, facing the camera, in decent light.
The remaining slots are outfits. Each one supplies a look to reveal. These photos do not need the face; they need the garment, on a body, in a shape the tool can read.
| Photo slot | What it supplies | What to check before uploading |
|---|---|---|
| Photo 1 (the person) | Face, hair, build — reused every pass | Face clearly visible, front-lit, no sunglasses, no heavy filter |
| Outfit 1 | The first look revealed | Garment fills the frame, colour is obvious, no clutter in front of it |
| Outfit 2 | The second look | A clearly different colour or silhouette from outfit 1 |
| Outfit 3 | The third look | Readable at a glance, not a shade variant of the one before |
| Outfit 4 | The fourth look | Still legible in a short tease at the end of a 12-second clip |
Five photos is the maximum in one generation, and each file must be a JPG, PNG or WebP of 10 MB or less. If you have no outfit photos at all, the video can still be made from a written wardrobe list — the prompt guide covers that route.
Lighting: what the tool can and cannot recover
Even, front-facing light is the whole game. Any light source in front of the person — a window, a doorway, a lamp — spreads across the face and lets the identity rule see the features it has to reproduce. Light from behind the head does the opposite: it fills the background and leaves the face as a silhouette, and silhouettes do not survive being reused.
Four lighting habits are worth following:
- Face a window in daylight rather than standing with your back to it.
- Avoid a single hard light, like a bare bulb or a direct flash, that puts half the face in shadow.
- Skip coloured lighting. Strong magenta or green light tints the skin, and the tint carries into every pass.
- Avoid a deep shadow across the eyes from a cap brim or heavy fringe.
Indoor evening light with a ceiling lamp overhead is fine on its own. If the room feels dim to you, it is too dim for the tool.
Framing: leave room for the clothes
The default shape is 9:16, so plan for a vertical frame. Stand far enough back that the whole outfit is visible and you are not cropping the body at the waist, because a clip that reveals four outfits from the shoulders up cannot show the difference between trousers.
A few framing rules that hold up in practice:
- Keep the person centred, with a little headroom and room below the knees or to the feet.
- Use a plain background where you can; a busy one competes with the outfit for attention.
- Hold the camera level. A tilted horizon makes the locked camera of the preset feel accidental.
- Take one photo, then check it. Blown-out highlights, motion blur, and a subject smaller than the frame are easier to catch now than after a generation.
Distance can vary between the person photo and the outfit photos, and that is usually fine — but staying in the same range keeps the reveals feeling like one continuous clip.
Face visibility
The identity rule needs eyes, a nose, and a mouth that it can find reliably. That means:
- Face the camera, or turn no more than a slight three-quarter angle.
- Keep sunglasses off, and push hair away from the eyes and jaw.
- Skip beauty filters that repaint skin texture; heavy smoothing removes exactly the detail the tool reuses.
- Avoid closed eyes, a hand across the mouth, or a laughing shot where the face is mid-motion.
- Shoot one adult per photo, and make sure everyone shown has agreed to appear in a generated clip.
Group photos do not work as a person slot. Cropping someone out of a group leaves the tool guessing which face is the subject, and it usually guesses wrong. Why the outfit change reads better with one person per frame goes into that in more detail.
What to avoid, and what to do instead
Some photo choices fail predictably, and each has a replacement.
- Blurry or shaky photos: use a photo where the face and the garment edges are sharp.
- Screenshots of screenshots: use the original file from the camera or the photo library.
- A tiny subject in a wide shot: use a photo where the person fills most of the frame.
- Backlit window shots: turn so the window is in front of the person instead of behind them.
- A deep shadow across the face: soften the light by using more than one direction.
- Outfits hidden behind a table, coat or bag: show the full garment.
- Filters that change skin tone or face shape: stay with an unedited photo.
- Two near-identical outfits: pick two looks that differ in colour or silhouette.
How many outfit photos to add
Match the count to the clip length. A 6-second clip reads well with two looks; a 12-second clip handles three or four. Beyond four, each reveal is on screen for so little time that viewers see motion rather than clothes.
Order matters, because the site reveals your outfits in the sequence you supply. Put the strongest look first if you want it in the three seconds that decide whether someone keeps watching, and a strong closing look last if you want the clip to end on the outfit rather than on the blade. The full sequence logic, plus the timing that makes an opening land, is in how the trend spreads on TikTok.
If you are working from a phone, remember that the photos come from your camera roll and the finished clip goes back to it. The path from download to Photos is not automatic in every browser, and the app guide walks through it step by step.
What the tool will and will not guarantee
Two expectations are worth setting before you spend credits. First, this is a stylised generated transition, not a filmed wardrobe shoot. Identity and framing are preserved, but details can drift between passes — hands, the exact fall of fabric, and small facial details are the usual places. Second, each run varies, so two generations from the same inputs will not be identical. If a pass drifts, run it again, or change one outfit in the list.
Credits are charged per generation: 30 credits for 1080p at 12 seconds, and 10 credits for the standard 720p 12-second clip on the pricing cards. Downloads are included once the generation is charged, with no watermark and no second unlock fee. New accounts start at 0 credits, and the sign-in panel pays 10, 20, 30, then 10 credits a day across seven claims, so a first clip can be made without paying.
Frequently asked questions
Do I need a photo of the ceiling fan?
No. The room, the fan and the wipe come from the preset. Your photos supply the person and, optionally, the outfits.
Can I use a selfie?
Yes, if the face is sharp, front-lit and untouched. A phone selfie against a window works; a selfie at arm's length in a dark room usually does not.
How many photos can I upload in one generation?
Five, including the person photo. Each must be a JPG, PNG or WebP of 10 MB or less.
What if I have no outfit photos?
Describe the outfits in the prompt box instead. The camera, the wipe and the identity rule stay fixed; the text supplies the wardrobe list.
Why did my first reveal not look like me?
Check the person photo first: dim light, a turned pose, sunglasses or a heavy filter are the common causes. A front-facing, evenly lit photo fixes most of it.
Can I use the same photo for the person and for an outfit?
No. The person slot supplies the face, hair and build, and the outfit slots supply looks to reveal. Supplying the same image twice gives the clip nothing new to show.
Where to go next
If you want the wardrobe to come from text rather than photos, read how the fan transition prompt works. If the photo is good and you are ready to post, the TikTok guide covers the opening seconds and captions, and the pricing page lists what each credit pack and subscription actually covers.