AI Ceiling Fan Transition: How the Wipe Effect Works
The AI ceiling fan transition is a generated wipe: a spinning blade crosses the frame and your outfit changes behind it. What you feed it and what it costs.
Ceiling Fan AI editorial team · Updated October 12, 2026
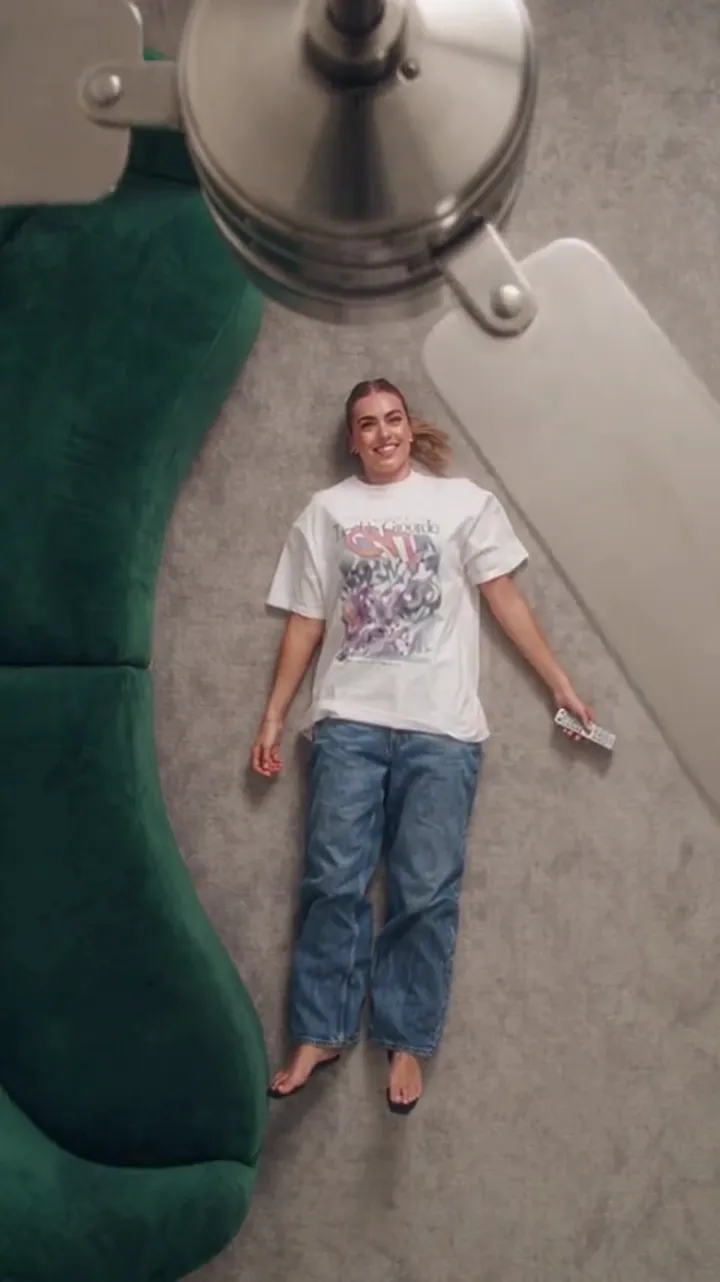
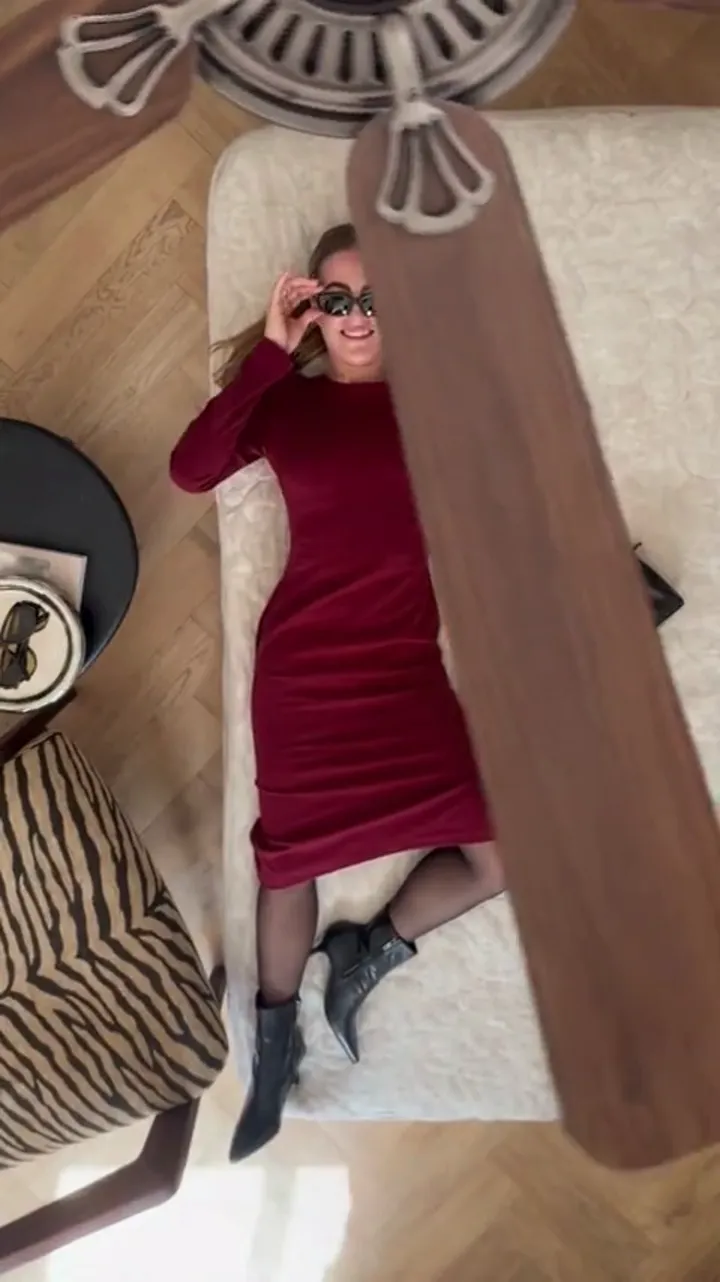
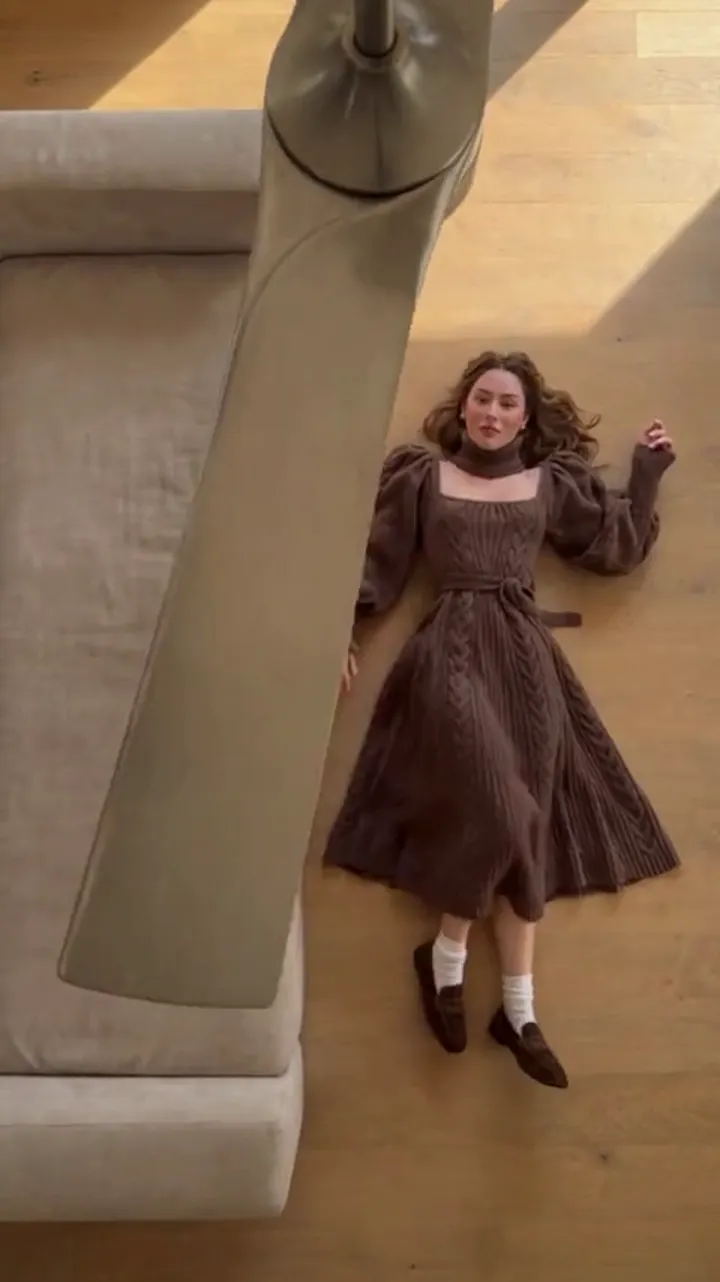
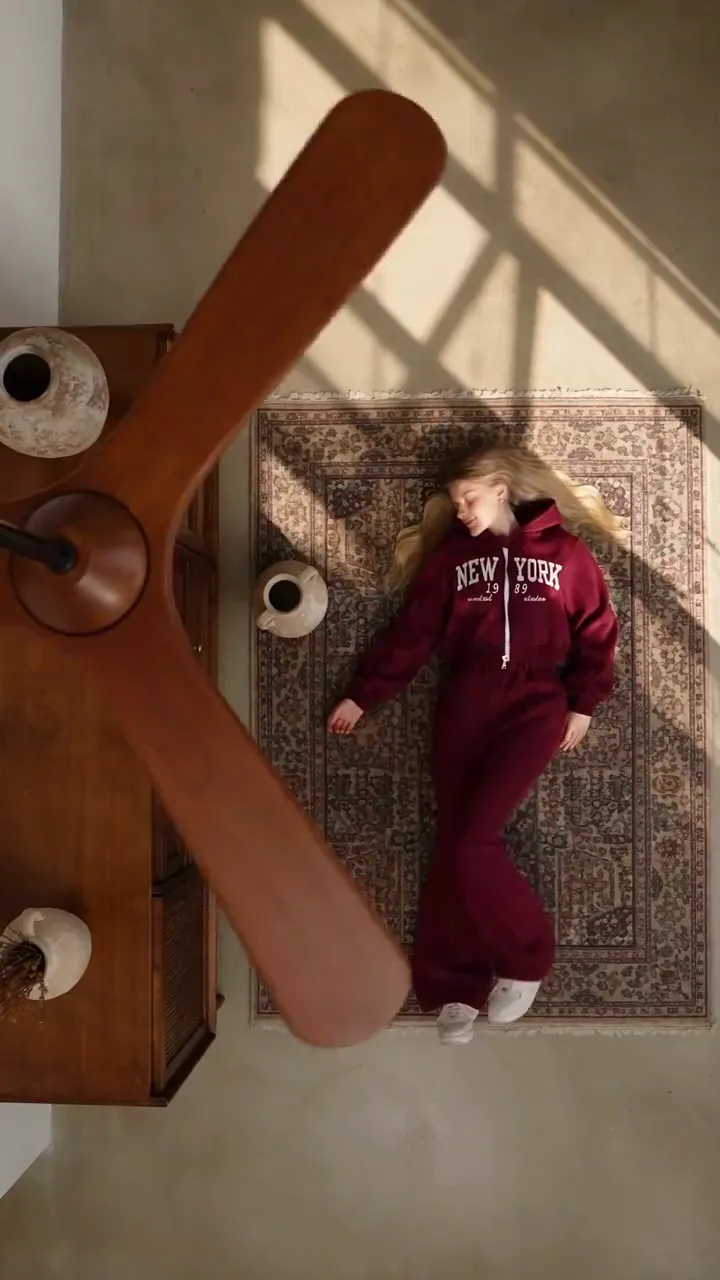
A ceiling fan transition is a short video where a spinning fan blade sweeps across the frame and, by the time it has cleared, the person behind the blade is wearing something else. The blade works like a wipe. It covers the moment of change, so an outfit swap reads as one continuous shot instead of a jump cut.
The AI version does not film anything. Instead of standing under a real fan and changing clothes between passes, you hand a video model one clear photo of a person plus one photo per outfit, and it generates the room, the fan, the movement and the change for you. Ceiling Fan AI is a browser tool built for exactly this one job: it takes your photos in the browser and returns a short vertical clip.
What the effect actually does
The trick is timing. A real fan blade crosses a phone camera in a few frames. In the generated clip the model places a fan between the camera and the person, spins the blade, and uses each pass of the blade as the hinge for the next outfit. Between two passes the person's clothes change; the face, the hair and the framing stay put.
That is why the trend reads as a magic trick rather than an edit. Nothing about the room moves. The only thing that changes is what the person is wearing, and it always changes on the beat of a blade that was already in the shot.
The four inputs you control
The tool asks for very little, and each input decides a different part of the result. The scene preset fixes the room. Your photos fix the person and the outfits. Your prompt nudges the details. The settings decide the file you get back.
| Input | What it decides | What it does not decide |
|---|---|---|
| Scene preset (8 options) | Room, camera distance, where the fan sits, and the light | Your wardrobe, your face, the timing of the wipe |
| Photo 1 | The person: face, hair, build | The clothes they wear in the first pass |
| Photos 2–5 | Up to four outfits, revealed in order | New rooms or new camera angles |
| Prompt (optional, up to 500 characters) | Small directions like hair down, gold earrings, a slow turn | The room, the blade, or the aspect ratio |
| Aspect, length, resolution | 9:16, 1:1 or 16:9; 6 or 12 seconds; 480p, 720p or 1080p | Who is in the shot or what they wear |
You can also run it from the prompt alone, with no photo at all, if you only want a scene. Adding the first photo is what makes it a personal transition.
What the model keeps and what it invents
The model is asked to preserve identity and framing: the same face, the same hair, the same body in the same place in the frame. Everything else is generated, which is why small things drift. Hands can change shape. Fabric can behave oddly for a frame. A face can look slightly different from the photo you uploaded.
This is normal for a stylised generated transition, and it is the honest limit of the effect. It is not a filmed wardrobe shoot, and it is not a portrait retoucher. If you need a pixel-exact replica of a specific garment, this is the wrong tool. If you need a clip where the change lands on the blade, it is the right one.
Making one, step by step
- Sign in with an email address. A new account starts at 0 credits; the sign-in panel pays seven claims of 10, 20, 30, 10, 10, 10, 10 credits, one every 24 hours. The first two claims already cover a default video.
- Pick one of the eight scene presets. Each one is a fixed room, camera and fan position, so you never have to describe a room yourself.
- Add one clear photo of the person. Front-facing, even light, whole head and shoulders visible. This is the photo whose face and hair are kept.
- Add up to four outfit photos, one per look, in the order you want them revealed — the outfit guide covers how to order them.
- Write a short prompt if you want to. It is optional; the scene and photos already carry most of the meaning.
- Choose the aspect, length and resolution, then generate. The default is 9:16, 12 seconds, 1080p at 30 credits.
A 6-second 1080p clip costs 15 credits and a 6-second 720p clip costs 5. Everything scales linearly from the 12-second price.
What it costs, and what is free
The free path is real but limited. There is no Google sign-in on this site, so the only way in is an email account, and the only free credits are the seven sign-in claims. Because claims are 24 hours apart, the sequence pays out over a week: 10 credits on day one, 30 by day two, then 10 a day. Bonus credits are capped at 100 credits in total and expire 30 days after they are granted.
After that, credits come from one-time packs that never expire or from a subscription. You can compare every pack and plan on the pricing page. Generating a video is the only thing that spends credits; browsing scenes is free.
If you want a clip in your hands tonight without paying, the practical route is to claim on day one, claim again on day two, and spend the 30 credits on one 1080p, 12-second video — or spread the same 30 credits across three 720p clips. The free guide walks through that sequence in detail.
What this effect is not
It is a generated transition, not filmed footage. Results vary from run to run, so regenerating is a normal part of using it. It cannot promise reach, views or engagement on any platform. And it is not affiliated with TikTok, Instagram, Pixazo, Media.io, Higgsfield, Google Flow, or Seedance and ByteDance. It is an independent photo-to-video tool.
Downloads are included the moment a generation is charged. There is no watermark and no second unlock fee. The exported file is a silent MP4, which is deliberate — most people add their own track in the app where they post.
FAQ
Is the AI ceiling fan transition hard to use?
No. You choose a scene, add a photo of the person and one photo per outfit, and generate. The tool writes the room, the camera and the blade for you, so there is nothing to film and nothing to edit.
How many photos do I need?
One is the minimum for a personal clip: a clear photo of the person. Every additional photo up to five becomes the next outfit in the sequence. With one photo you get one pass; with five you get more changes.
Why does the outfit not match my photo exactly?
Because the model generates the clothing rather than copying it pixel for pixel. It reads the outfit photo as a direction and rebuilds it in the scene. Colours and shapes usually survive; fine detail and fabric texture can drift.
Can I post the clip on TikTok or Instagram?
Yes, and 9:16 is the format both platforms prefer. The MP4 is silent, so you add the sound yourself in the app. See the TikTok guide for the details.
Which resolution should I start with?
Start at 720p for 12 seconds. It costs 10 credits, is called the standard video across the site, and looks fine on a phone screen. Move to 1080p when the clip is going to be the main post rather than a test.