Fan Transition AI Template: Every Scene Preset Explained
All eight scene presets, what each one fixes about the room, camera and fan, and what you still control: your photos, your prompt, length and resolution.
Ceiling Fan AI editorial team · Updated October 12, 2026
A "fan transition ai template" is the part of the workflow you do not have to write yourself. Describing a room, a camera position and a spinning blade in a prompt is fiddly, and the result is inconsistent. A preset fixes all of that and hands the model a description that is known to work.
This tool ships eight presets. Each one is a fixed room, camera and fan placement, so you pick a known-good stage instead of describing one in a prompt. If you are new to the effect, the main guide explains the whole workflow first. The rest of the clip is yours: who is in it, what they wear, how long it runs and how big the file is.
What a preset fixes and what it leaves open
A preset is not a filter and not a locked output. It sets the stage, and only the stage. Everything below the blade is still your decision.
| The preset decides | You decide |
|---|---|
| The room: floor, furniture, walls | Photo 1, the person whose face and hair are kept |
| The camera: distance and framing | Photos 2–5, the outfits revealed in order |
| Where the fan sits between camera and person | The prompt: small directions like hair down or a slow turn |
| The light: warm daylight, cool studio, moody directional | Aspect: 9:16, 1:1 or 16:9 |
| How the blade crosses the frame | Length: 6 or 12 seconds |
| Resolution: 480p, 720p or 1080p |
Pick a preset that matches the mood you want, then change only the parts that are yours. If you keep the preset and swap the photos, two clips can share one room and still look like different videos.
The eight presets
Every preset below is a real room description the model receives, together with your photos and prompt. The shorthand names are the labels you see in the studio.
| Preset | Room | Fan and light | Best for |
|---|---|---|---|
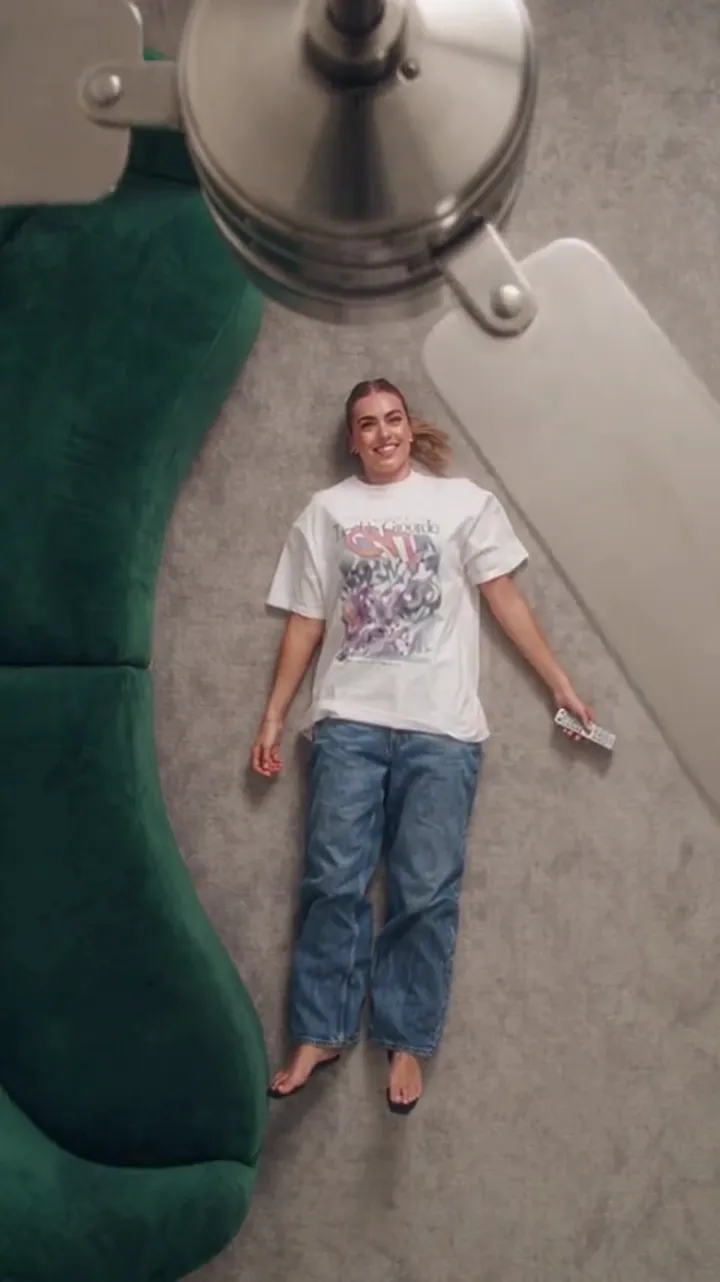
| Warm living room | Light oak floor, bright living room | Plain wooden fan, warm daylight | Everyday outfits, denim, casual looks |
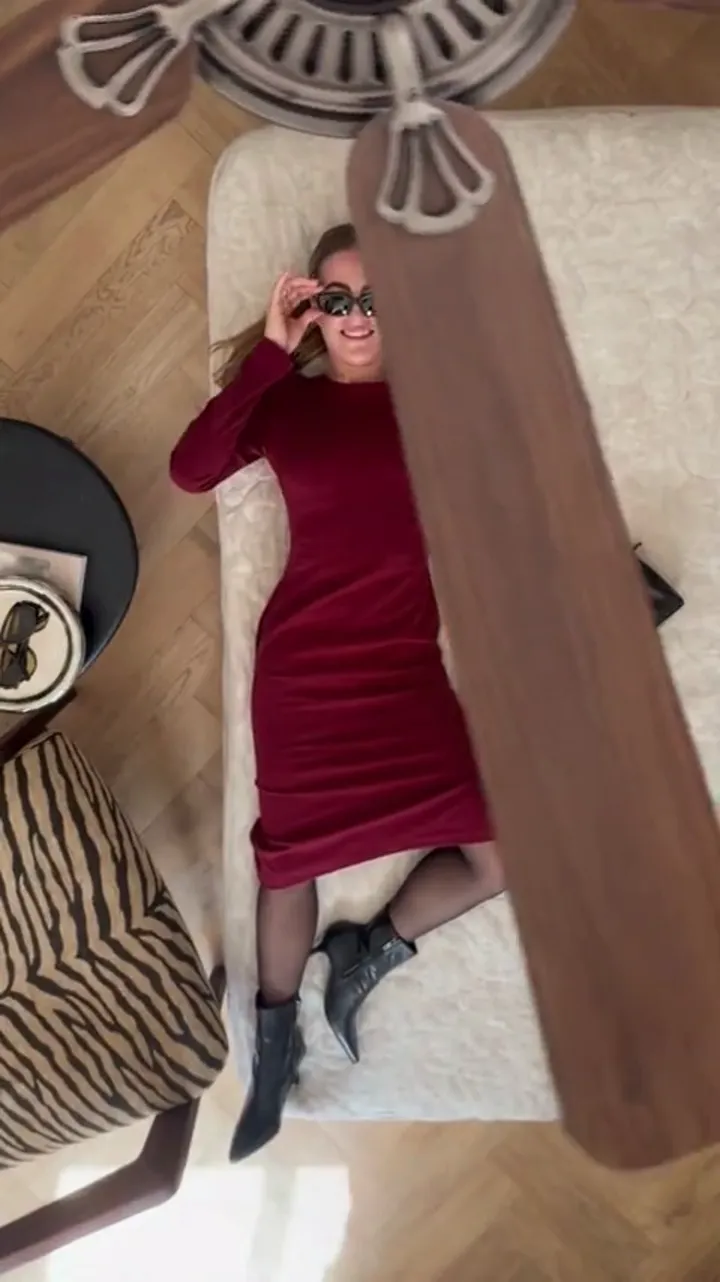
| Dark wood fan, living room | Light patterned rug, large dark-wood fan dominating the frame | Dark fan, soft window light | A heavier, more cinematic pass |
| Minimal white room | Minimalist white room, nothing on the walls | Slim metal fan, single soft lamp, calm neutral light | Clean fashion looks, one strong colour |
| Low bed, cream carpet | Cream carpet with a low bed | Pale wooden fan, soft studio daylight from one side | Cosy, indoor, soft tones |
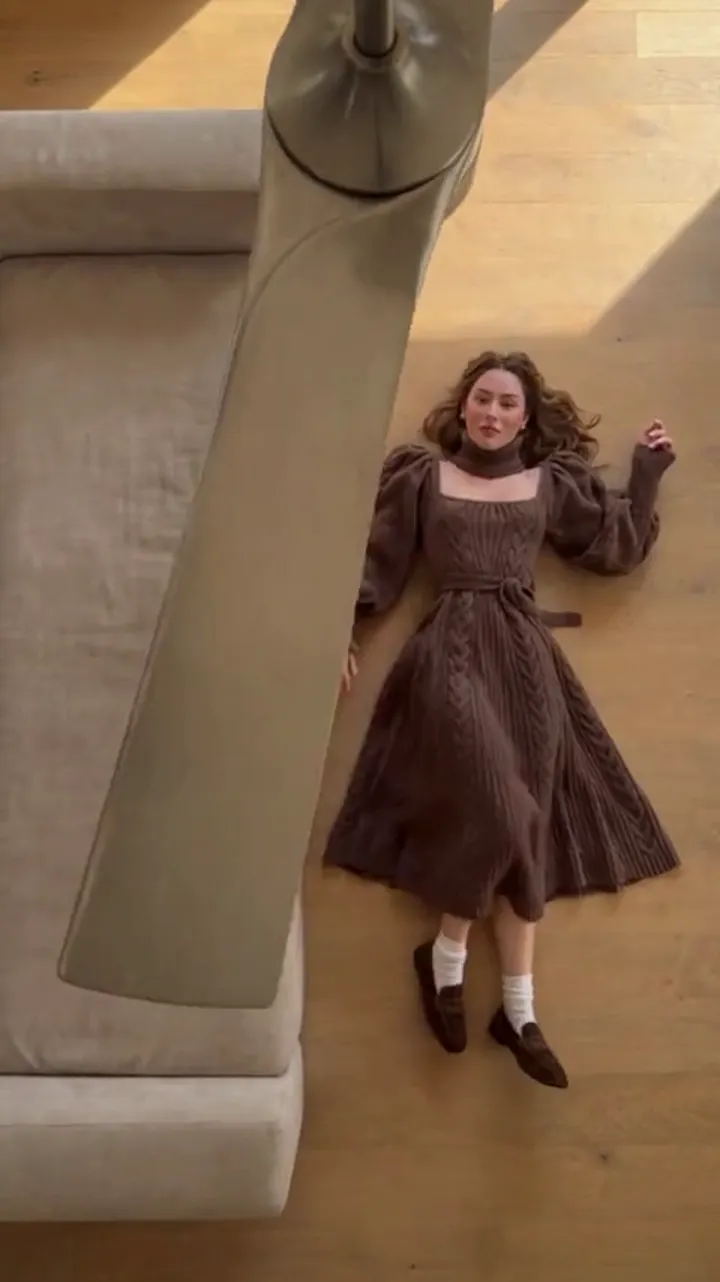
| Beige sofa and cushions | Beige sofa with cushions | Light fan, warm afternoon light | Family and everyday clips |
| Dim loft | Warm grey rug in a dim loft | Dark fan, moody directional lighting | Night-out outfits, deep colours |
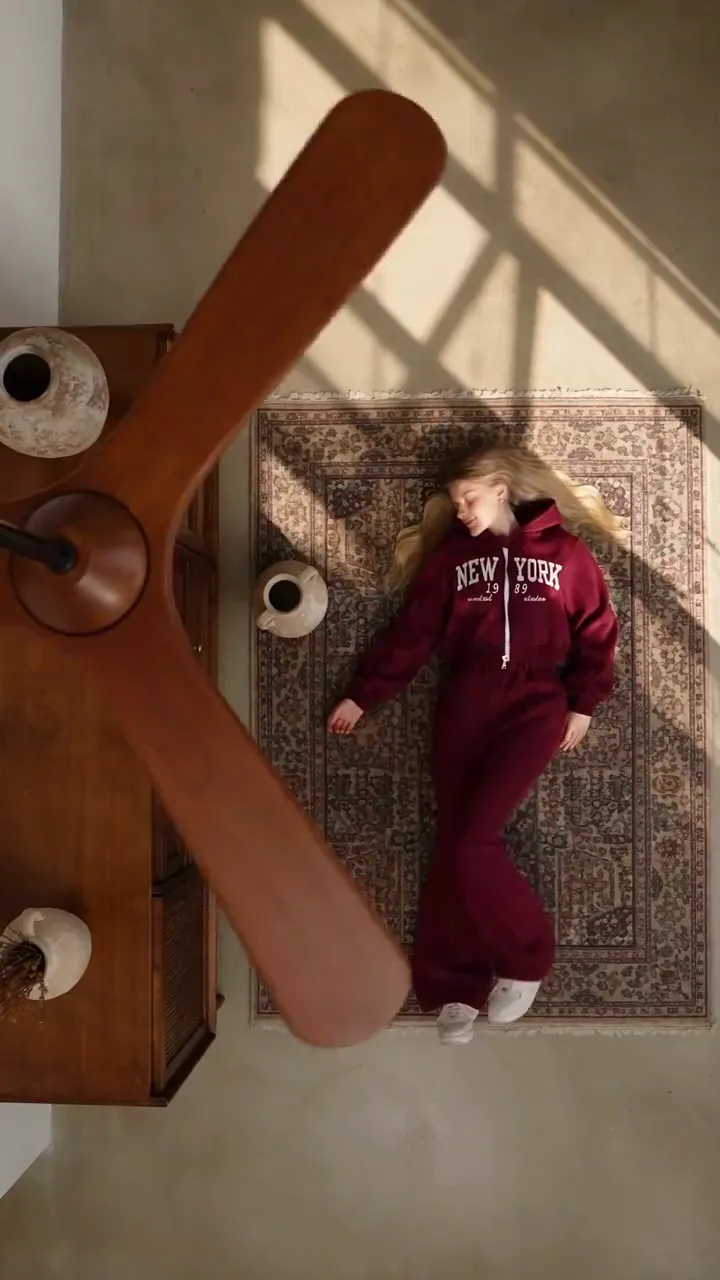
| Townhouse hallway | Dark wooden floor, townhouse hallway | Dark timber fan, strong angled shadows | Streetwear and hoodies |
| Coastal window | Patterned slate-grey rug beside a window with a woven basket | Pale wooden fan, soft coastal light | Light, summery looks |
The two ends of the range are the bright living room with its plain wooden fan and the dim loft with its moody directional light. If you are not sure where to start, the bright room is the most forgiving, because even light hides small drift in fabric and hands better than hard shadows do.
How to choose a preset
- Decide the mood first, not the outfit. Bright and neutral for daytime looks, dim and directional for evening looks.
- Check where the fan sits. In the living-room presets the fan is near the camera and crosses the frame large; in the hallway and loft it hangs deeper into the room.
- Match your outfit photos to the light. A black outfit in a dim loft can lose its shape; the same outfit in the minimal white room reads clearly.
- Preview the shipped example beside each preset. It is a fixed sample, not a promised result, but it shows the room you are choosing.
- Keep the preset fixed while you test photos. Changing one thing at a time is how you learn what your photos are doing.
The preset decides the wipe. Each one places the fan so the blade passes between the camera and the person, which is what makes the outfit change read as a single move rather than a cut. You never have to time the blade yourself.
What the preset cannot do
A preset cannot promise that a specific garment survives untouched. It fixes the room, not your wardrobe. Outfit photos are read as a direction, and the model rebuilds the clothing inside the scene, so colour and shape usually survive while fine fabric texture and hands can drift.
A preset also cannot rescue a weak source photo. If the person's face is turned away, in heavy shadow, or cropped at the chin, the result will look like that. One clear, evenly lit, front-facing photo does more for the final clip than any preset choice.
Working the preset with your prompt
The prompt is optional and short, capped at 500 characters. It is where you add the small things a preset cannot know: hair down, gold earrings, a slow turn into the camera, a cream linen suit. Treat it as a note to the model, not a script. Long descriptions rarely beat two or three concrete details.
If you leave every photo slot empty, the preset still works: the clip is made from your prompt alone. Adding the first photo is what turns the scene into a personal transition, and the outfit photos are what turn it into a change. The outfit guide covers how to order those photos.
Preset choice and cost
Presets do not change the price. The room is free to pick and free to change. What you pay depends only on length and resolution: 480p is 5 credits for 12 seconds, 720p is 10 and 1080p is 30, with 6-second clips costing roughly half. You can see every pack and subscription on the pricing page.
That matters because it changes how you should experiment. Test photos and prompts at 720p for 10 credits, where the room still reads clearly, then spend 30 credits on 1080p once a combination works. The video settings guide explains the resolutions in more depth.
FAQ
Do the presets lock my output?
No. A preset fixes the room, the camera and where the fan sits. Your photos, prompt, aspect, length and resolution are all still yours to change.
Can I describe my own room instead?
The studio offers the eight presets plus a free-text prompt, and you can generate from the prompt alone. A custom room description is possible, but the shipped presets are the ones tuned so the blade crosses the frame cleanly.
Which preset is best for a first attempt?
The bright living room with the plain wooden fan. Even warm daylight hides small drift in hands and fabric, and the fan passes close to the camera, so the wipe is easy to read.
Does the preset change what the clip costs?
No. Cost depends only on the length and the resolution. Choosing a different room never adds credits, and switching presets before you generate is free.
Can two people use the same preset?
Yes. A preset is a room, not a person. Anyone who chooses the same room and the same settings starts from the same stage, and the result is different because of the photos and prompt.