Ceiling Fan Outfit Change: Plan Four Looks in One Clip
How to order four outfits across a ceiling fan outfit change, which photos to upload, and how to keep the face and the pose consistent between every pass.
Ceiling Fan AI editorial team · Updated October 12, 2026
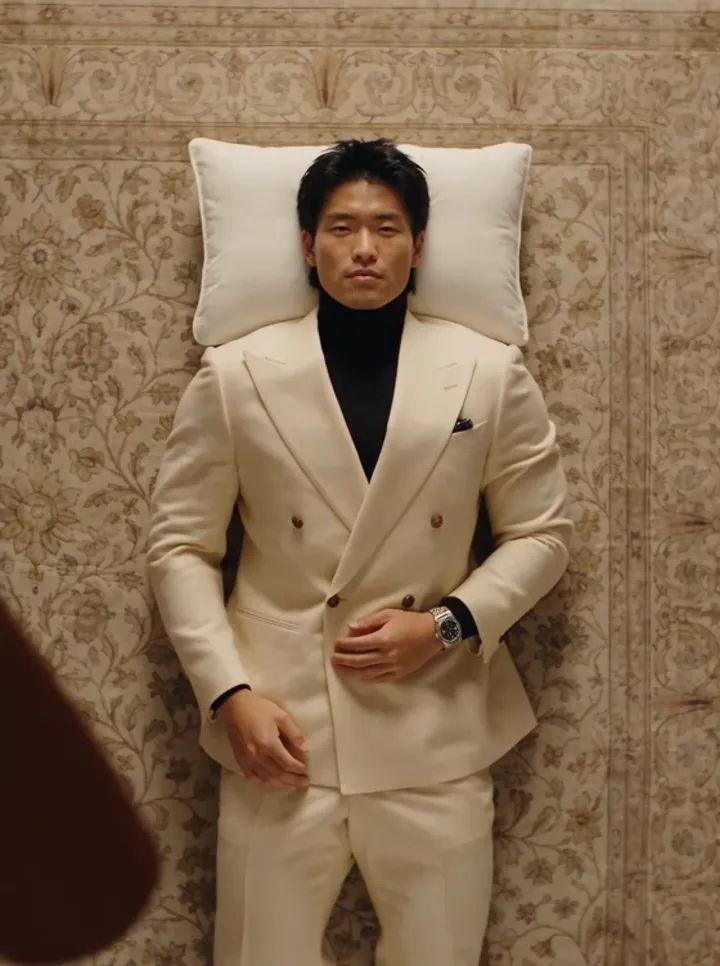
A ceiling fan outfit change is only as good as its planning. The blade will wipe the frame and the outfit will change, but which outfit appears, in which order, and whether the face stays the same are all decided before you press generate.
This page is about the decisions that happen in the five minutes before you upload: how many looks to plan, how to order them, and how to keep the person consistent across every pass.
What each photo slot does
Up to five photos go into a generation. The first has a different job from the rest.
| Slot | What it is | What it decides | Photo tip |
|---|---|---|---|
| Photo 1 | The person | Face, hair and build, kept across every pass | Front-facing, even light, whole head and shoulders |
| Photo 2 | Outfit 1 | The first look revealed | Full outfit visible, neutral background |
| Photo 3 | Outfit 2 | The second look | Consistent framing with the others |
| Photo 4 | Outfit 3 | The third look | Avoid heavy patterns that fight the room |
| Photo 5 | Outfit 4 | The fourth look | Keep the same pose as the others |
Leaving slots empty is allowed. One photo of the person gives a single-pass clip. Adding outfit photos is what turns it into a change. You can also generate from the prompt alone with no photos at all, though that clip has no specific person in it.
Planning the four outfits
Four is the practical maximum, and it is usually more than the clip needs. A 12-second clip fits three or four changes; a 6-second clip fits one or two. So plan the number you can actually see.
- Count the changes you want. One reveal, a clear two-look before-and-after, or a run of four.
- Match the outfits to the room. A bright living room preset reads clean denim and light colours; a dim loft reads dark evening wear better.
- Vary the silhouette, not just the colour. A loose shirt, a fitted jacket and a long coat in different colours change the shape of the frame, which makes each pass obvious.
- Keep the shoes and accessories consistent, or change them deliberately. Random accessory changes make the clip look glitchy rather than styled.
- Put your favourite outfit last. It gets the longest time on screen as the clip settles.
If you only have two strong outfits, use them and pick a shorter clip. Two clean changes beat four muddy ones.
Ordering the outfits
Order is a story beat. The most effective sequence moves from normal to dramatic, or from one colour family to another with a clear arc.
- Everyday to evening. Start in what you would wear out in the day, end in what you would wear out at night. The change feels like a transformation.
- Light to dark. Start pale and end dark. The shift is visible even in a small thumbnail.
- Round trip. Start and end in the same outfit so the clip loops back, which suits a 6-second loop.
- Contrast pairs. Put two outfits that share nothing side by side to make the change impossible to miss.
Write the order down before uploading, because the slots are sequential: the clip reveals them in the order you add them, so slot order is the on-screen order.
Keeping the face and pose consistent
The person is the anchor. Everything else can change; the face, hair and framing are meant to stay put, which is what makes the change feel like one person rather than a montage.
- Use one clear photo of the person, front-on, in even light. This single choice matters more than any setting.
- Avoid strong shadows across the face, sunglasses, or a hand near the chin. Each one gives the model something to invent.
- Keep outfit photos in a similar pose. If every outfit photo is shot the same way, the model has less reason to move the person.
- Keep the camera expectation fixed by using one preset. Switching rooms between passes is not possible in a single generation, and the preset keeps the framing steady.
- Expect small drift. Hands, fabric and fine facial detail can shift a little between passes. That is normal for a generated transition; regenerate if a run misses.
If a result keeps losing the face, the usual cause is the source photo, not the prompt. A sharper, flatter, better-lit photo of the person fixes more than any wording. The template guide explains how the preset holds the room and camera still so your photos can do their job.
Checking the result before you post
- Watch it twice. Once for the outfits, once for the face.
- Check the transitions, not the stills. A clip can have four good frames and one bad wipe.
- Look at the last second. That is the outfit the clip leaves in the viewer's mind.
- If one pass drifts badly, regenerate rather than accepting it. Results vary per run, so a second attempt often lands.
Cost of a four-outfit clip
Outfits do not cost extra; the price depends on length and resolution. A 12-second 720p clip is 10 credits, 12-second 1080p is 30, and 6-second clips are about half. Five photos is the ceiling regardless of length, so the cheapest way to get four changes is a 12-second clip at a lower resolution. Free accounts reach a 30-credit balance after two daily sign-in claims; otherwise packs start at $9.90, all listed on the pricing page.
For the trend itself and the filmed alternative, see the ceiling fan transition guide. For the mechanics of the wipe, start with the main explainer.
FAQ
How many outfits can one clip show?
Up to four outfit photos, because five photos are allowed and the first slot is the person. A 12-second clip fits three or four changes; a 6-second clip fits one or two.
Can I keep the same outfit in two slots?
You can, but it wastes a pass. If you want a slower reveal, keep the same outfit in the first and last slot so the clip opens and closes on a stable look.
Why does the face change between passes?
The model is asked to keep the face, but it generates each pass, so small drift is normal. A clearer, evenly lit photo of the person reduces it more than any prompt.
Do all photos have to come from the same day?
No. They only need to be consistent in pose and light so the model has an easy time keeping the person steady. Mixed lighting tends to cause more drift.
What if an outfit looks wrong in the result?
Regenerate with a clearer outfit photo or a cleaner background. The wardrobe is rebuilt from your photo, so a simple, well-lit reference gives a closer match than a busy one.