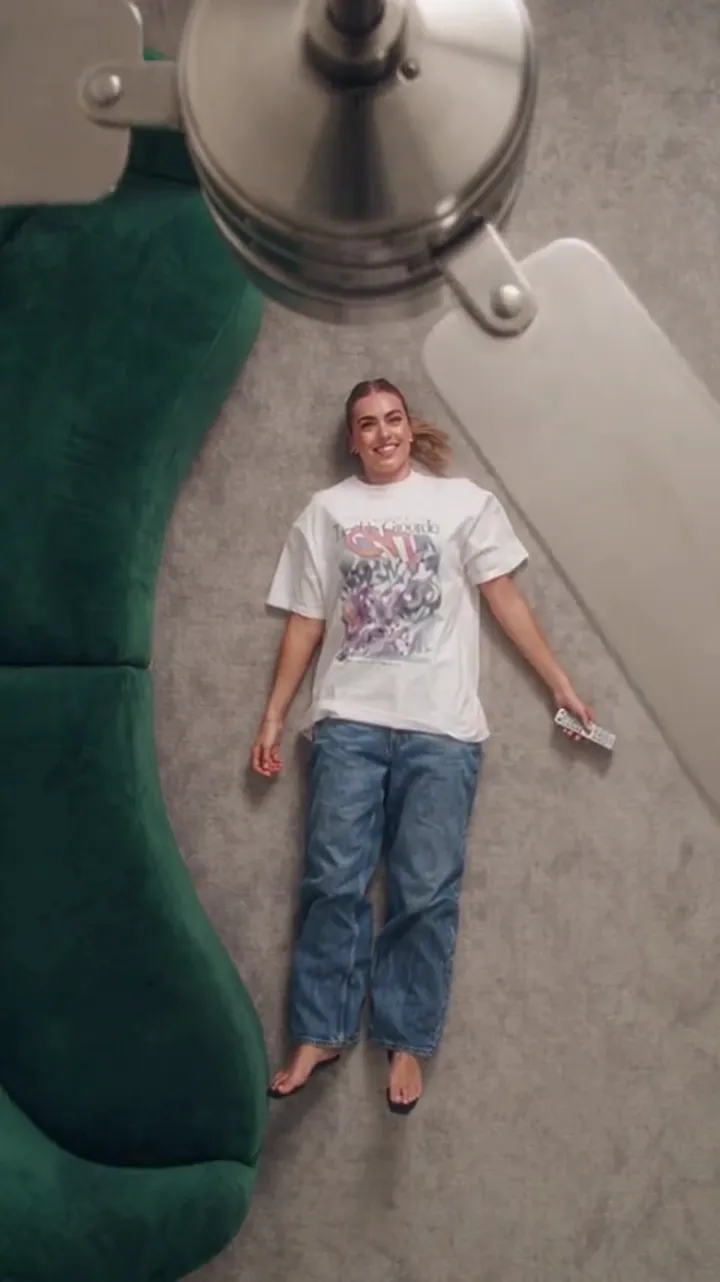
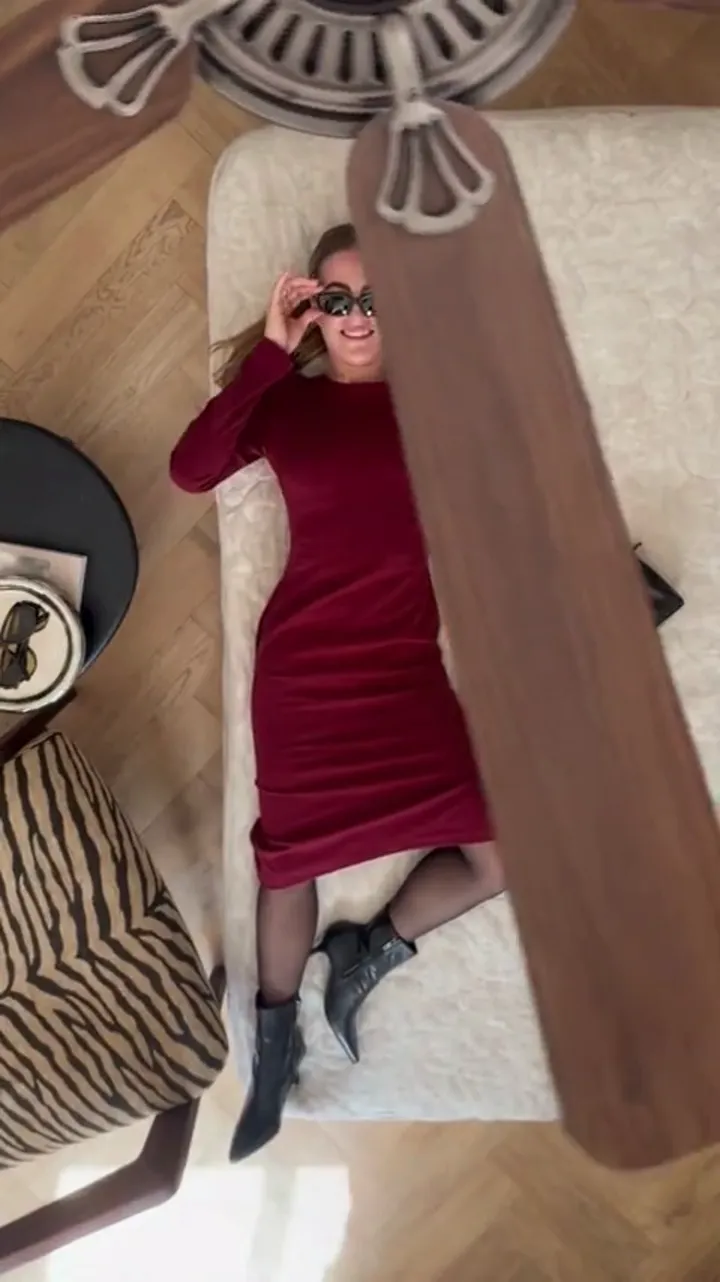
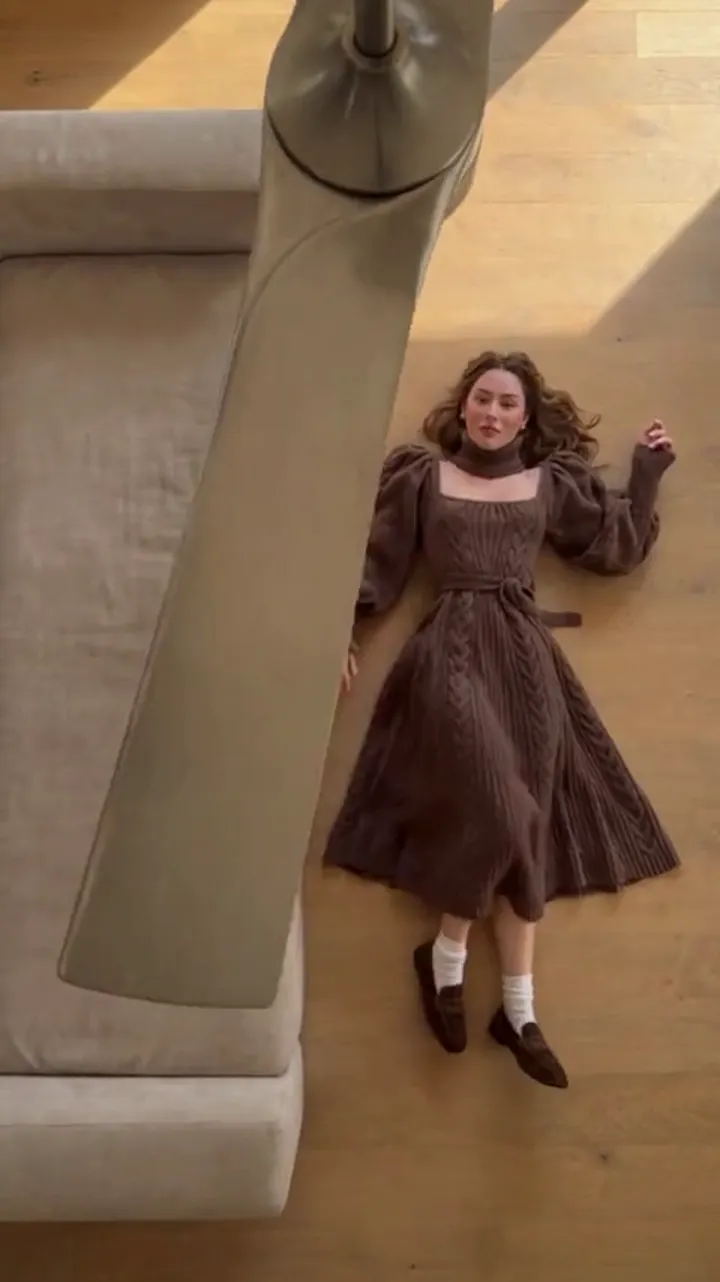
Ceiling Fan Transition: The Trend and How It Is Made
What the ceiling fan transition trend is, how the manual phone-on-the-ceiling method works, and how a generated version compares to filming it yourself.
Ceiling Fan AI editorial team · Updated October 12, 2026
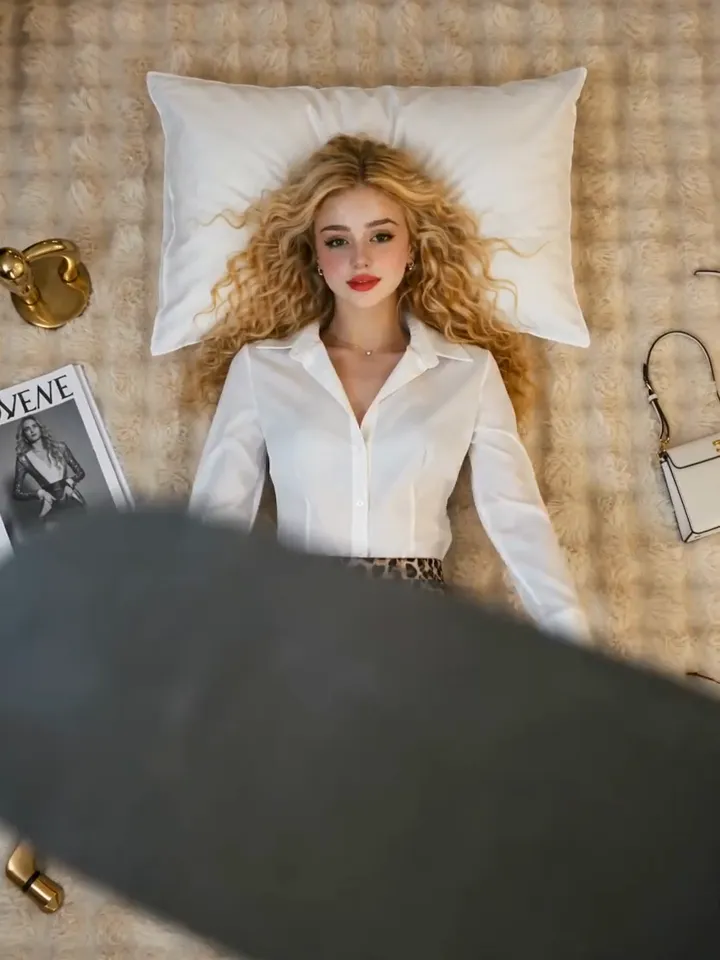
The ceiling fan transition is the kind of trend that explains itself in one viewing: a fan blade sweeps past the camera, and the person behind it is suddenly in different clothes. It spread because it looks like magic and costs nothing to understand.
There are two ways to make one. You can film it, by fixing a phone under a spinning fan and stepping in and out of frame. Or you can generate it from photos, which is what this tool does. This page explains the trend and compares the two routes honestly.
Where the trend comes from
The effect belongs to the family of "wipe transitions" that predates any app: something passes in front of the lens and hides a cut. A hand, a door, a passing car. The ceiling fan version works because a fan is already in millions of rooms, its blades are a natural wipe, and the movement is fast enough to cover a whole outfit change in a couple of frames.
When short vertical video made quick visual tricks popular, the fan became a ready-made prop. The trick needs no editing skill, only the willingness to stand in the right spot and move on cue. From there it was a short step to asking an AI video model to generate the same shot from a photo, which is where the "AI ceiling fan transition" version comes in.
How the manual method works
The filmed version is genuinely simple, and it is worth knowing because it explains why the effect reads the way it does.
- Set the fan spinning at a steady speed and put the phone directly under or beside it, pointing at the person, so a blade passes close to the lens.
- Record the person standing still in outfit one. The blade crosses the frame repeatedly.
- Cut the recording at the exact frame where a blade covers the lens.
- Change into the next outfit, then record again, starting on another blade frame.
- Join the clips at those covered frames. The blade hides the join, and the change looks instant.
The whole trick is that you edit on a frame where the screen is filled by the blade. Nothing is revealed, so nothing needs to match.
Manual versus generated
The two routes produce similar-looking clips but ask very different things of you.
| Filmed with a phone | Generated from photos | |
|---|---|---|
| What you need | A ceiling fan, good timing, a second person to hold the camera, editing on a phone | One clear photo of the person plus one photo per outfit |
| What changes between passes | Whatever you actually put on | Generated outfits, rebuilt from your photos |
| Room and camera | Whatever your room looks like | One of eight fixed scene presets |
| Repeatability | Same setup, new clothes | Same settings, new run; details may drift |
| Cost | Your time | Credits per generation |
| Best at | Authentic, filmed footage | Clean rooms and looks you cannot stage |
The filmed version is more honest as footage and needs no credits. It also needs a fan, a steady hand and a room you are happy to film in. The generated version removes all of that but asks you to accept that the result is a styled transition rather than a recording, and that a detail or two may drift from run to run.
What the generated route does with your photos
You start from a scene preset, one of eight rooms with a fixed camera and fan position. Then you add photos: the first is the person, whose face, hair and build are kept, and the next up to four are outfits, revealed in order. A short prompt can nudge details like hair down or a slow turn.
The model generates the room, the blade and the changes. Identity and framing are preserved on purpose; the wardrobe and the small details are invented, which is why fabric and hands can shift a little between passes. If you want the change to look deliberate rather than random, plan the outfit order before you upload, which the outfit guide explains.
Which route to choose
Choose the filmed route when the room, the fan and the authenticity are the point, and when you have the time to nail a frame-accurate edit. Choose the generated route when:
- You do not have a fan, or your room is small, dark or cluttered.
- You want outfits you do not own, or looks you cannot change into fast enough.
- You want one clip from photos you already have, without staging anything.
- You want a specific room and light that the presets give you for free.
Neither is better in the abstract. They solve the same visual problem with different inputs: a room and your time, or photos and credits.
Cost and the honest limits
A generated clip costs credits: 480p is 5 for 12 seconds, 720p is 10 and 1080p is 30, with 6-second clips about half. There is a free path through seven sign-in claims, and packs and subscriptions start at $9.90; the pricing page lists them all.
The honest limits are worth repeating. The generated transition is a stylised effect, not a filmed wardrobe shoot. Results vary per run, so regenerating is normal. Downloads are included once a generation is charged, with no watermark and no second unlock fee, and the file is a silent MP4 you add sound to when you post. The tool is independent and not affiliated with TikTok, Instagram, Pixazo, Media.io, Higgsfield, Google Flow or Seedance and ByteDance.
If you want the mechanics of the generated effect itself, read the main explainer. If you want to understand why some clips read as real transitions, see the trend guide.
FAQ
Is the ceiling fan transition hard to film?
The filming is easy; the edit is the fiddly part. You must cut on a frame where a blade fills the lens, for every change, or the join shows.
Do I need a real fan to make one?
Only for the filmed version. The generated version places a fan in the scene for you, so you can make the effect without owning one.
Why does the generated clip not look exactly filmed?
Because it is generated. The room, blade and outfits are created by a model, not recorded, so fine detail like hands and fabric can drift between passes and between runs.
Can I combine both methods?
Yes, and some people do: film a real room for authenticity, then use the generated version when they want a look that is hard to stage. They are two routes to the same visual, not one workflow.
How much does a generated clip cost?
480p is 5 credits for 12 seconds, 720p is 10 and 1080p is 30, with 6-second clips costing about half. The seven sign-in claims give you a free path to a first clip.