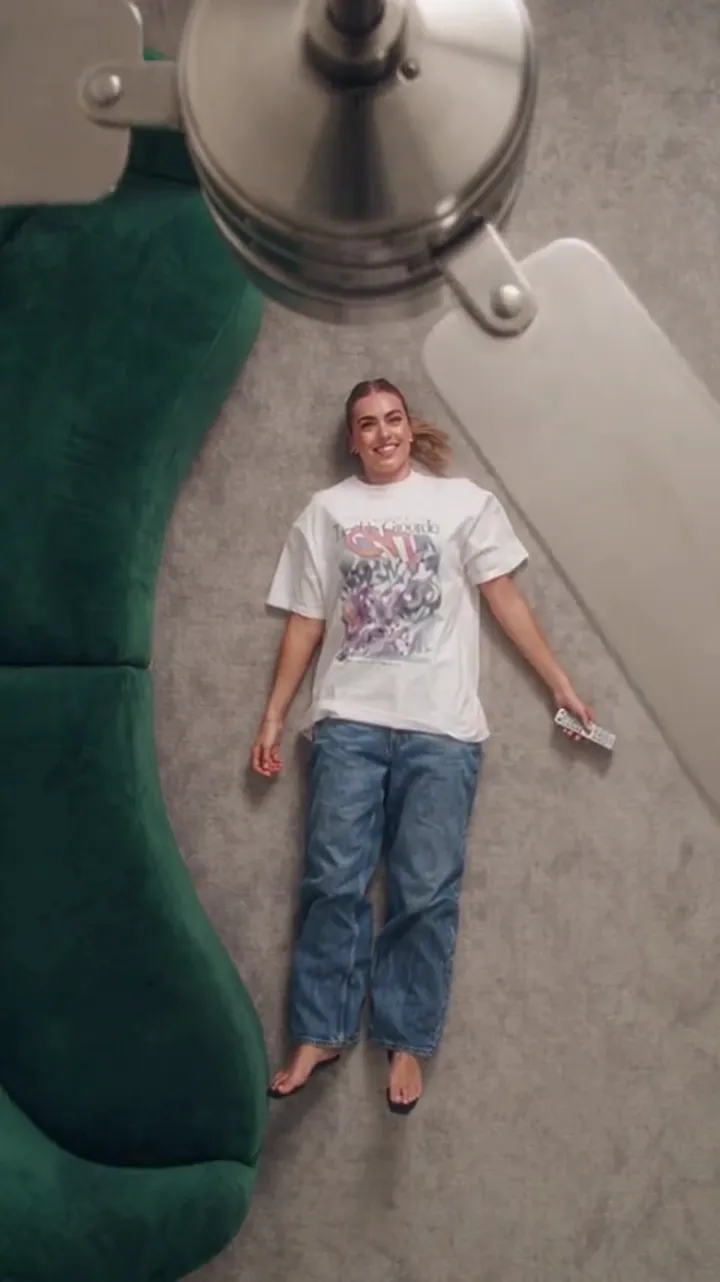
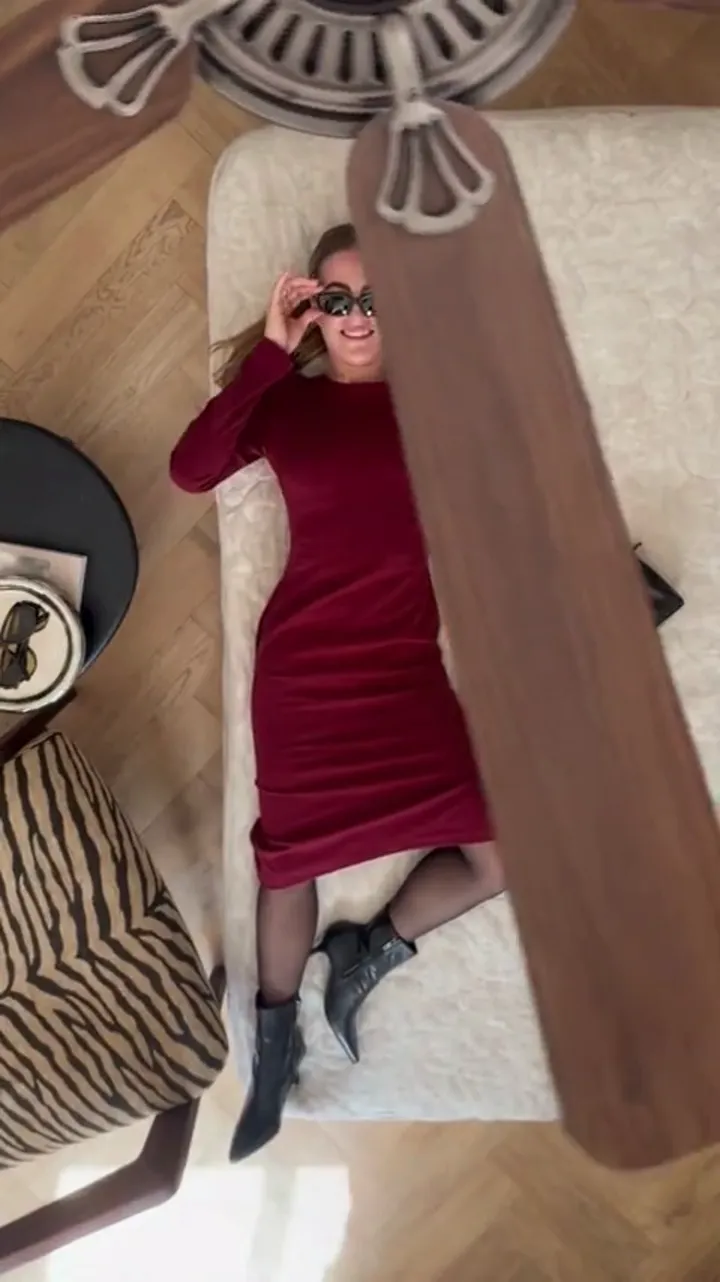
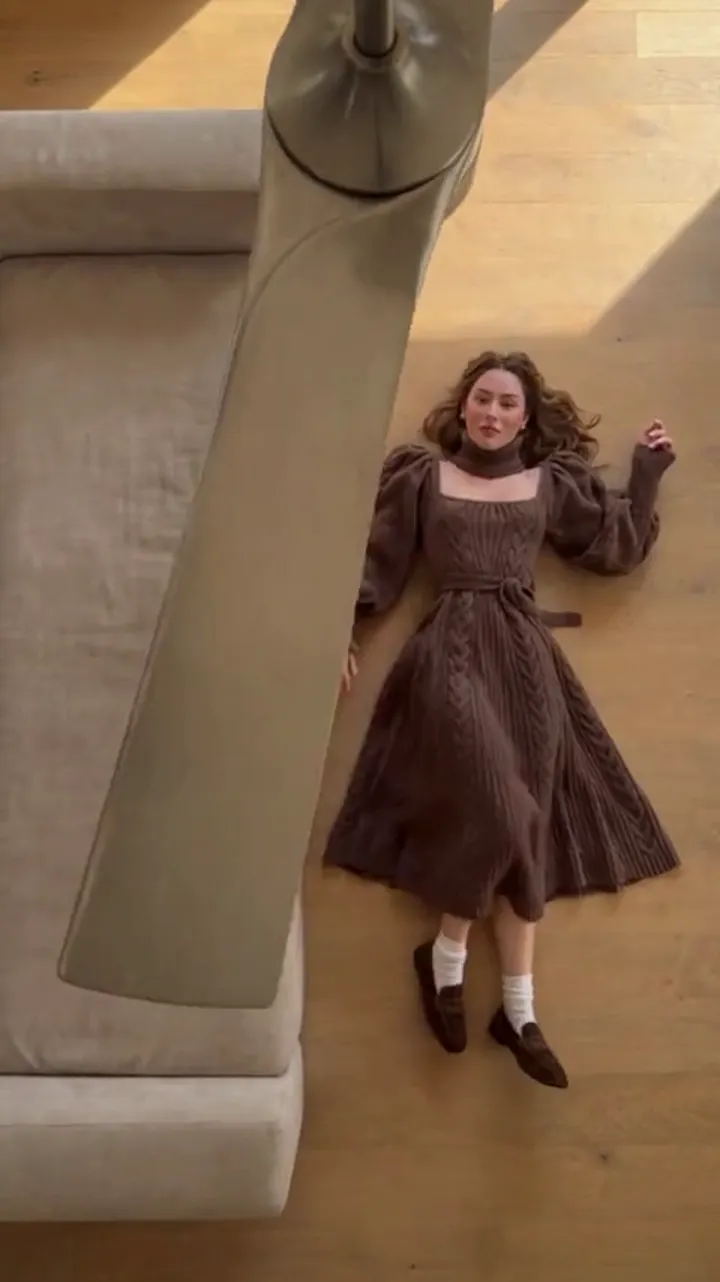
How to Make a Fan Transition Video: A Step-by-Step Guide
Learn how to make a fan transition video: picking photos, keeping the same person, choosing 6s or 12s, ordering outfits, and fixing the mistakes that show.
Ceiling Fan AI editorial team · Updated October 12, 2026
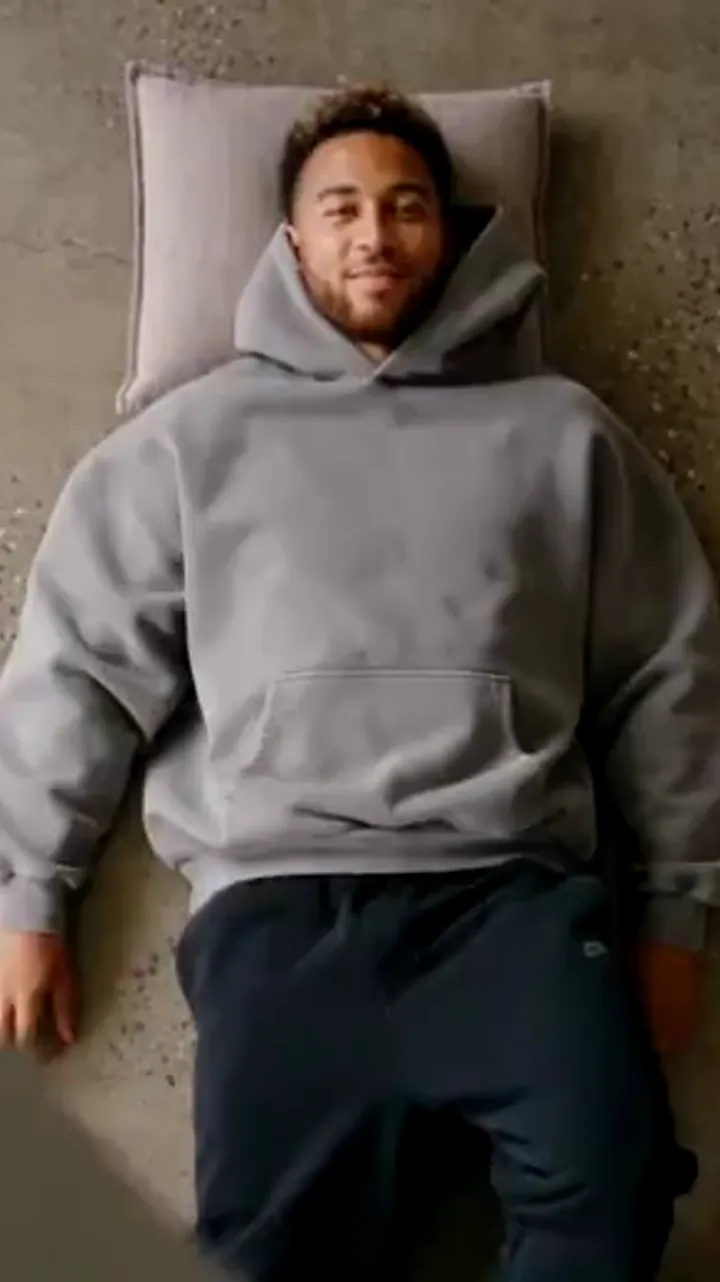
A fan transition video looks effortless and is mostly decided before you press generate. The blade does the covering, but whether the change reads cleanly depends on the photos you choose, the light in them, the order of your outfits, and the length you pick. Get those four things right and the effect looks like a costume change; get them wrong and the clip looks like a glitch.
This guide is the practical walkthrough: what to prepare, the exact steps, how to choose between a six- and twelve-second clip, and a table of the mistakes that show up most often and how to fix each one.
What you need before you start
You do not need a ceiling fan, a camera operator or editing software for the generated route. You need a small set of clean photos and a few decisions made in advance.
- One clear photo of the person whose face and build should stay constant.
- One photo per outfit you want to reveal, up to four outfits.
- A chosen scene and light, since the room and camera are fixed by the preset you pick.
- A decided order for the outfits, because they appear in the sequence you add them.
- A chosen length: six seconds for one or two changes, twelve for three or four.
If you plan to film the trick instead, add a real fan, a way to hold the phone still under or beside it, and a phone editor that can cut on a single frame.
The step-by-step
Work through these in order. Each step exists because skipping it causes a specific problem later.
- Choose the person photo first. Pick a front-facing shot in even, flat light where the whole head and shoulders are visible. This single image anchors the face for the whole clip, so it matters more than any setting. Avoid strong shadows, sunglasses, and hands near the chin.
- Choose the outfit photos. Each should show the full outfit against a plain background, shot in a similar pose to the others. A dress or a full look laid out flat works; a busy background does not, because the model has to rebuild the garment from the photo.
- Pick the scene and light. Choose a preset room whose light matches the mood of your outfits: bright rooms for daywear and light colours, darker rooms for evening looks. You cannot move the camera between passes inside one generation, so decide up front.
- Upload the person photo into the first slot. This slot is the identity anchor. Everything else is a change layer on top of it.
- Add outfit photos in reveal order. The clip reveals them in the order you add them, so slot two is the first look and the last slot is the final look. Write the order down before uploading rather than deciding as you go.
- Write a short prompt if it helps. The camera move, the blade wipe and the identity rule are fixed by the preset, so your text is a wardrobe note rather than a shot description. Keep it to a sentence or two about the looks or a small motion detail.
- Choose the shape and length. Pick a vertical 9:16 frame for social feeds, then choose six or twelve seconds depending on how many changes you have.
- Confirm and watch the cost. The interface shows the credit cost for the exact combination you chose before you commit, so there is no surprise after the fact.
- Generate, then review twice. Watch once for the outfits and once for the face and hands. If one pass drifts badly, regenerate with the same inputs or swap the weakest photo.
- Download and add sound. The file comes out as a silent video, so add your own audio in the app where you post it.
Choosing six seconds or twelve seconds
Length is not about how much you can fit; it is about how much the viewer can follow. Each change needs enough screen time for the eye to register the new outfit before the next pass arrives.
| Length | Comfortable outfit changes | Best for |
|---|---|---|
| 6 seconds | One or two | A fast, loopable reveal or a clean two-look before-and-after |
| 12 seconds | Three or four | A wardrobe run, or a clip with a longer settling shot at the end |
Matching length to outfit count
The rule of thumb is simple: give each change about three seconds of clean screen time. Two looks fit neatly into six seconds. Four looks need twelve, or the last change feels rushed and the viewer never quite settles on it.
If you are unsure, start shorter. A tight six-second clip with two strong looks reads better than a twelve-second clip carrying two changes and four seconds of empty room. You can always generate again longer once you know the photos work.
Photo selection and lighting
Most weak results trace back to the photos, not the prompt. The model keeps identity and framing from the first image and rebuilds each outfit from its reference, so the quality of those files sets the ceiling on the whole clip.
- Shoot or choose front-facing photos. A profile shot gives the model too much to invent.
- Use even, soft light. Harsh side light creates shadows the model tries to reproduce across every pass.
- Keep the background plain. A clean wall behind a full outfit is easier to rebuild than a cluttered room.
- Keep the framing consistent. If every outfit photo is shot the same way, the model has less reason to move the person between passes.
- Use the highest resolution you have, within the file-size limit, since detail is what the outfit is rebuilt from.
Keeping the same person
The face is the anchor, and the whole trick depends on it holding. Small drift is normal for generated transitions — a hand, a fold of fabric, a fine facial detail can shift a little between passes — but large drift usually means the source photo was unclear. A sharper, flatter, better-lit photo of the person fixes more than any prompt wording ever will.
Ordering the outfits
The order is a small story. Make each pass feel like a deliberate step rather than a random shuffle.
- Everyday to evening. Open in daywear, close in evening wear, so the clip reads as a transformation.
- Light to dark. A pale opening look and a dark final look stay legible even in a small thumbnail.
- Big contrast between neighbours. Put two looks that share nothing side by side so the change is impossible to miss.
- Favourite last. The final outfit is the one the viewer remembers, so give it your strongest look.
Keep the shoes and accessories consistent unless you are deliberately changing them, because random accessory swaps make a clip read as broken rather than styled.
Common mistakes and how to fix them
| Mistake | Why it happens | The fix |
|---|---|---|
| The face changes between passes | The person photo is soft, shadowed or partly hidden | Shoot or pick a sharper, front-facing, evenly lit photo |
| An outfit barely reads | The change is a small colour shift | Choose looks with different silhouettes and strong contrast |
| The clip feels rushed | Too many looks packed into six seconds | Move to twelve seconds or cut an outfit |
| The room jumps between passes | Trying to change scenes mid-clip | Pick one preset; scenes do not change inside a generation |
| Hands or fabric look odd | Normal generated detail drift | Regenerate with the same inputs or swap the weakest photo |
| The result will not loop | The last outfit clashes with the first | Make the final look match the opening one |
| The clip on social is letterboxed | Wrong aspect ratio | Choose the vertical 9:16 frame for tall feeds |
What makes a transition read cleanly
A clean transition has one quality above all: the viewer never sees the change happen. In the filmed version that means the cut lands on a frame where the blade fills the lens. In the generated version it means the source photos give the model an easy job.
Beyond that, the same handful of habits separate clips that land from clips that do not. Keep the camera frame settled, whether by shooting steady or by picking one preset. Make the first outfit simple so the opening frame is easy to read. Give each change enough time, which is the length decision again. And check the last second specifically, because that is the look the viewer walks away holding.
If you want the background on why the trick works at all, the trend explainer covers the mechanics. If you are setting up a clean reveal rather than a full run, the before-and-after guide is about framing the opening and closing shots. And to try the generated route, this tool is built specifically for the ceiling-fan wipe — start from the main explainer or open the home page.
FAQ
How many photos do I actually need?
One clear photo of the person is the minimum, and that alone gives a single-pass clip. Each additional outfit photo adds one more look, up to four outfits.
Should I pick six or twelve seconds?
Six seconds suits one or two changes; twelve suits three or four. Roughly three seconds per change is a good guide, so match the length to the number of outfits you plan.
Why is my outfit coming out wrong?
The garment is rebuilt from your reference photo, so a busy background or a soft, small image gives a loose match. A plain background and a clear, full-length outfit photo give a closer one.
Do I need a real ceiling fan to make one?
No. In the generated route the room, the fan and the blade wipe are supplied by the scene preset, so you can make the effect without owning a fan or filming anything.
Why does the same input give a different result?
Each generation varies, which is normal for this kind of tool. If a pass drifts in the hands or the fabric, run it again with the same inputs or change one item in the outfit list.