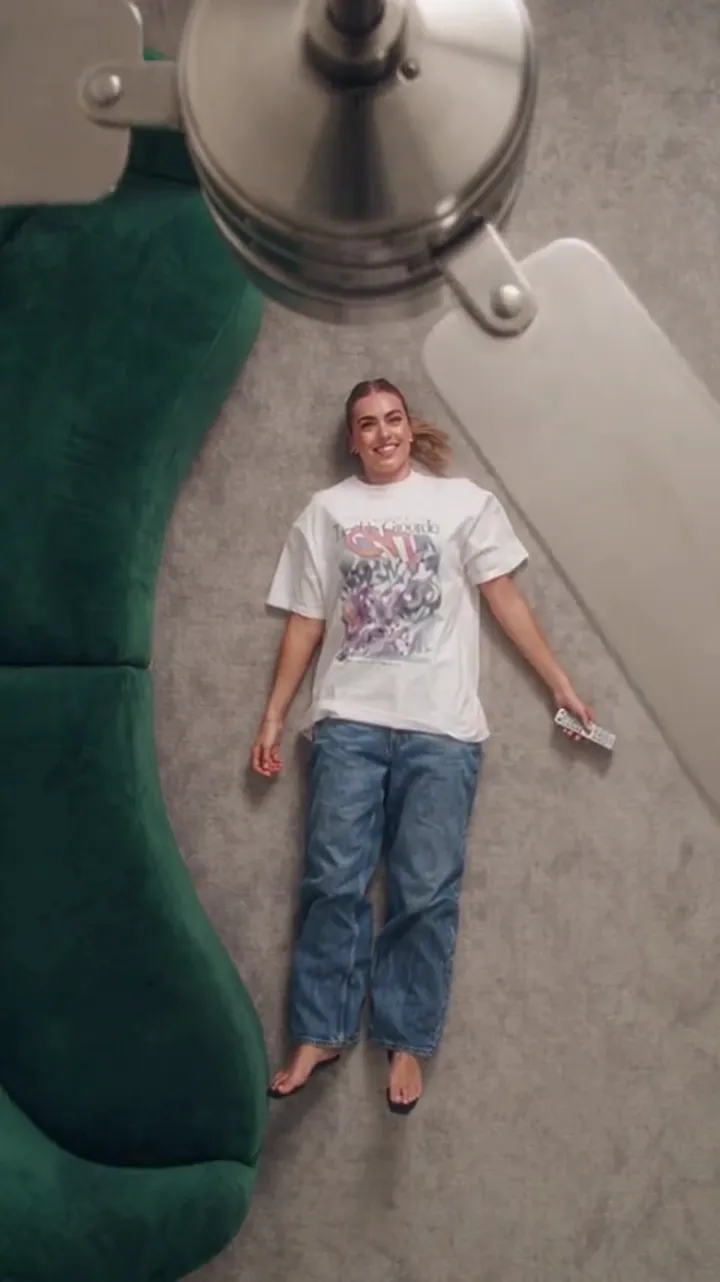
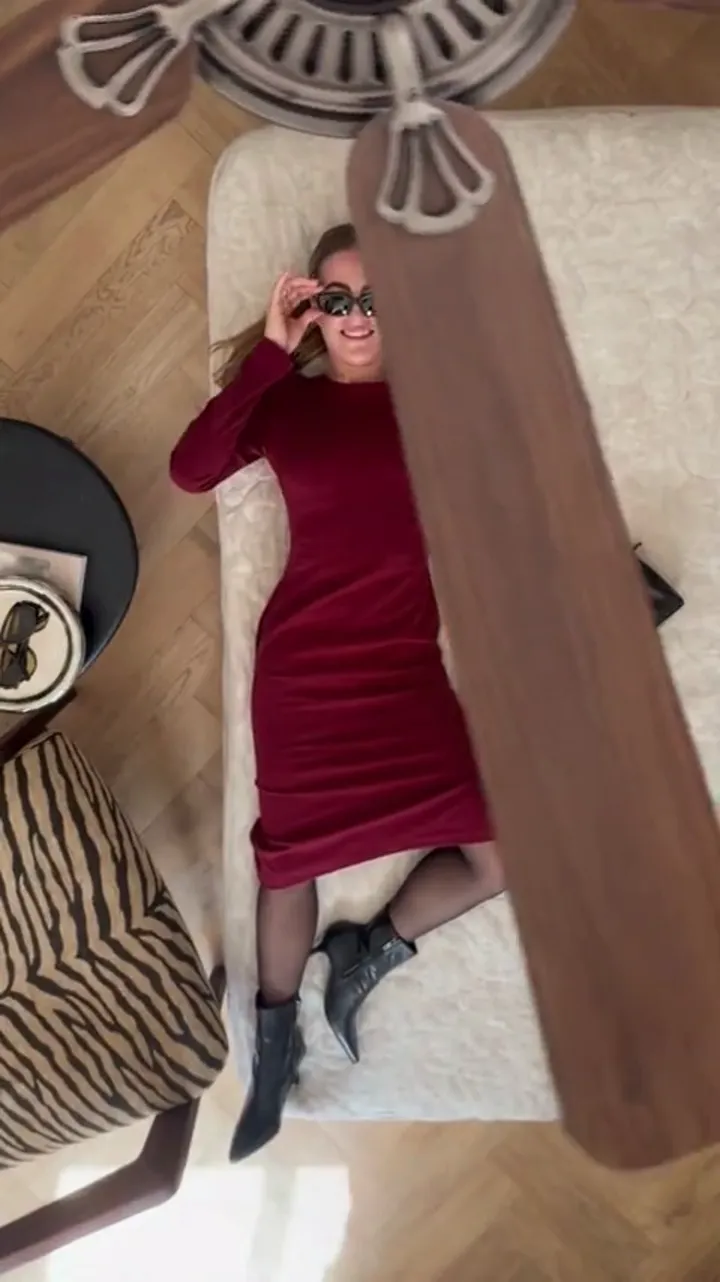
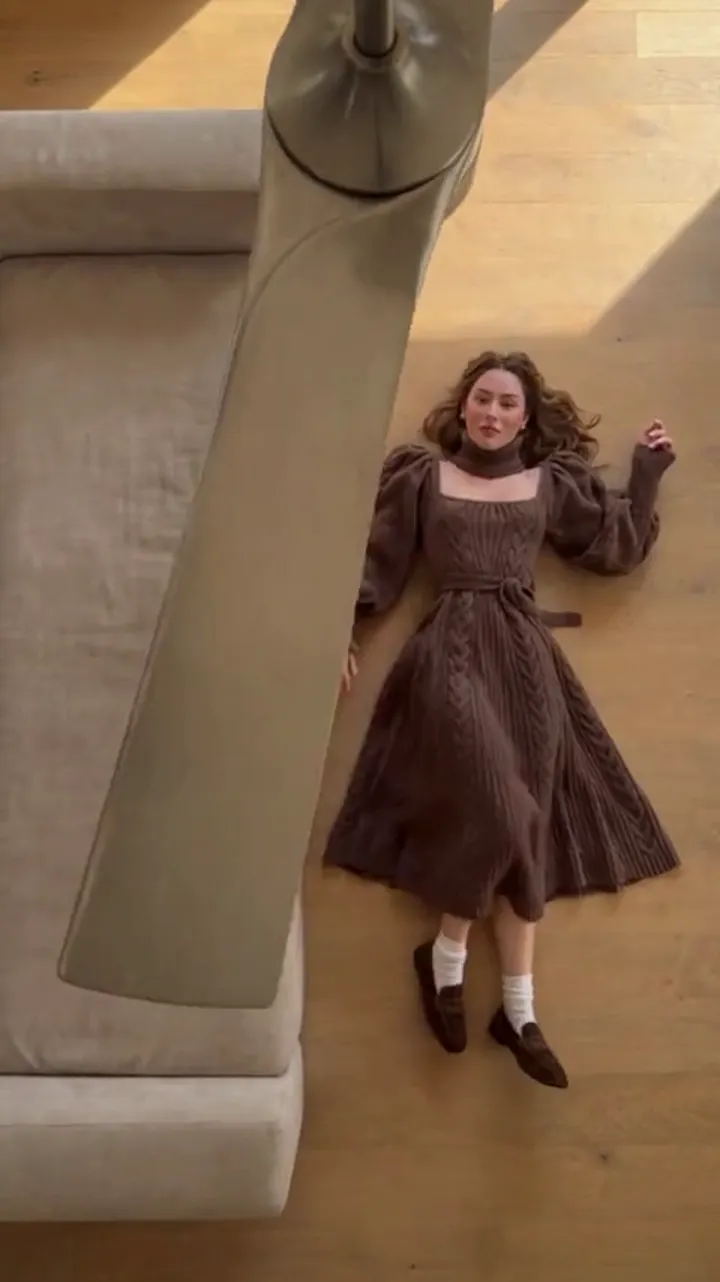
Ceiling Fan Transition Before After: Make the Reveal Land
How the ceiling fan transition before after framing works for outfit reveals, how to set up the first and last frame, and how to post it as a clean reveal.
Ceiling Fan AI editorial team · Updated October 12, 2026
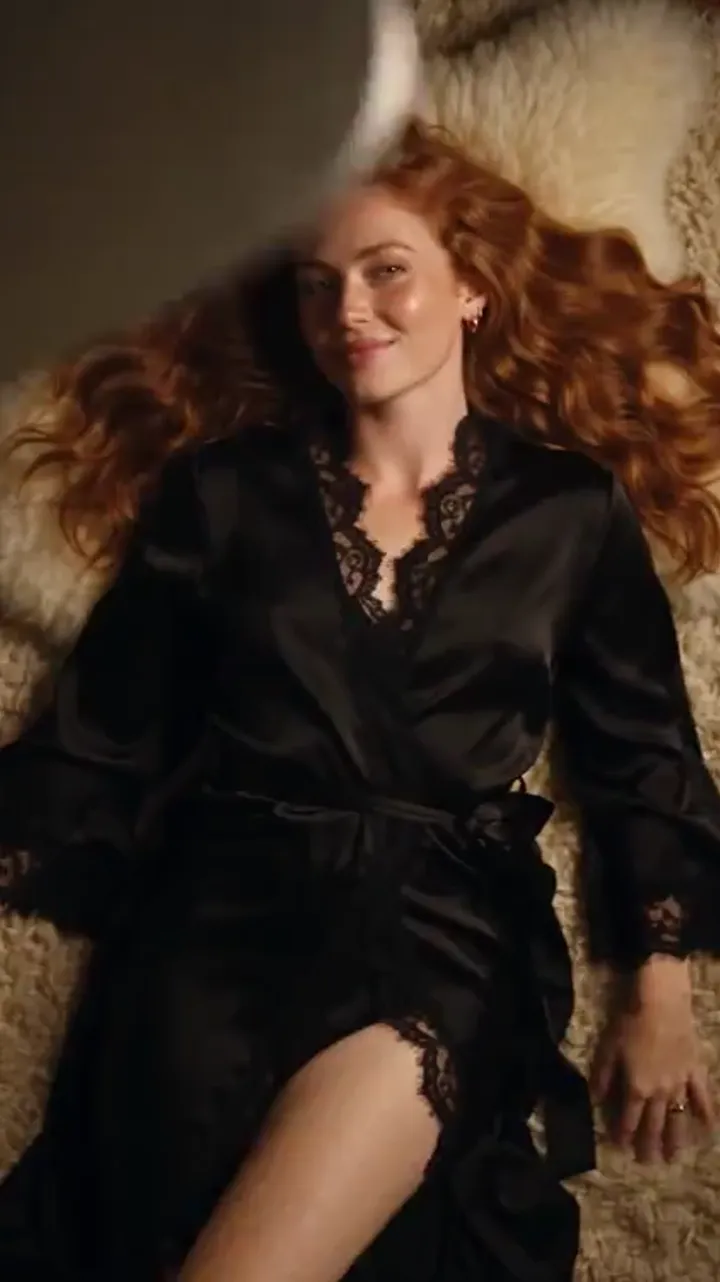
The ceiling fan transition before after format is the payoff version of the trend: the opening outfit sets an expectation and the closing outfit breaks it. Instead of a run of random looks, the clip tells a small story in two beats, dressed up in the blade-wipe trick. The person starts as one version of themselves and ends as another.
This guide is about framing that reveal deliberately — how to choose the opening and closing looks, what the middle passes have to do to make the ending land, and how to post a clip so a scrolling viewer reads it as a genuine before-and-after rather than a jumble of outfits.
What before and after means here
In a standard outfit-change clip, every look has equal weight. The blade passes, the outfit flips, and the viewer just enjoys the range. A before-and-after clip works differently: it points at two frames in particular.
- The before is the first frame the viewer sees: the person posed in the opening outfit, before the first pass.
- The after is the last frame the clip leaves them with: the person in the final outfit as the clip settles at the end.
Everything between those two frames exists to carry the viewer from one to the other. The middle changes can surprise, but their job is to make the final reveal feel earned. When the before and after contrast strongly, the clip reads as a transformation. When they are similar, the reveal falls flat no matter how many passes are in between.
| Position | What it is | What it must do |
|---|---|---|
| Opening frame | The before look | Be clean, settled and easy to read |
| Early passes | The first changes | Signal that a pattern is coming |
| Middle passes | Optional extra looks | Build contrast toward the end |
| Closing frame | The after look | Land the strongest, most different look |
Setting up the first frame
The opening frame is the thumbnail of the whole idea, so it gets the most attention. It is also the frame the viewer's eye uses as an anchor for every change that follows.
- Choose the plainest strong look for the opening. A simple, well-defined outfit is easy to read in the first second, which is exactly when the viewer decides whether to keep watching.
- Pose the person front-on and centred. The opening picture sets the pose the whole clip is measured against.
- Make sure the first outfit fills the frame. If the outfit is cropped at the shoulders, the reveal has nothing to change.
- Keep the light steady. Even light on the opening frame sets the tone the rest of the clip is judged against.
- Let the first pass arrive early. The clip should hint at the change within the first second, so the viewer knows a reveal is coming.
The opening frame should not be the most dramatic look, because the whole point is to move away from it. Save the drama for the end.
Setting up the last frame
The closing frame is what the viewer remembers, so it carries the reveal. It should be the look that contrasts most with the opening one.
- Make the after look the biggest change. If the clip opens in casual daywear, close in evening wear, or move from one clear colour family to another.
- Let the final change land with time to spare. Give the last reveal about three seconds of clean screen time so it settles instead of flashing past.
- Hold the pose. The last outfit should occupy the same pose and framing as the first, so the comparison is a comparison of clothes, not of stance.
- Keep the face constant. The face holding between the first and last frame is what makes the reveal read as one person, not two.
- Consider the loop. If the last look is close to the first, the clip restarts cleanly, which suits short feeds.
Choosing the after look
The after look has one job: to be noticeably different from the before in shape, colour and mood. A change of silhouette reads fastest — a fitted top to a loose coat, or trousers to a dress — because the eye catches the outline before it reads the colour. If you only have two strong outfits, use them as the before and after and keep the clip short; a clean two-look reveal beats a crowded four-look run.
Making the middle passes earn the ending
If you are using more than two outfits, the middle changes are not filler. They build the contrast so the final reveal lands harder. The usual approach is a steady escalation: start close to the before look and step further away with each pass, so the ending feels like the natural conclusion rather than a random stop.
A useful pattern is light to dark, or casual to formal, both of which read clearly even at a glance. Avoid putting two similar looks next to each other, because they cancel each other out, and avoid a strong look in the middle, because it steals attention from the final reveal. Keep the strongest look for last.
The number of passes also matters. Two looks in six seconds give a tight before-and-after. Four looks in twelve seconds give a journey. Both work, but they are different clips, so decide which one you are making before you upload. The step-by-step guide walks through length and ordering in detail.
Posting it as a before-and-after on social
The clip is only half of a before-and-after; the way you post it is the other half. A vertical feed viewer decides in about a second whether the reveal is worth staying for, so the framing starts with the thumbnail.
- Set the opening outfit as the cover image. A thumbnail showing the before look sets up the expectation the clip then breaks.
- Use a vertical 9:16 clip. It fills the screen on TikTok, Instagram Reels and YouTube Shorts instead of sitting in a letterboxed band.
- Add your own audio. The file is silent, so choose a track whose beat you can sync to the first reveal.
- Keep on-screen text short. Three to five words, like a before-and-after hook, and keep it clear of the outfit.
- Label generated clips honestly. If the change is generated rather than filmed, say so, and use the platform's AI-content label where one is offered.
Captions that frame the reveal
A before-and-after caption should point at the two ends of the clip rather than describe every pass. Plain, short lines work best:
- "Before: the everyday fit. After: the one I never wear out."
- "One photo, two looks, one fan blade."
- "AI fan transition — before and after in one take."
Avoid implying the clip is a filmed wardrobe shoot if it was generated. Saying what it is reads as more confident, not less.
Common problems and how to avoid them
- The reveal feels weak. The before and after are too similar. Push the contrast: different colour family, different silhouette, different mood.
- The clip drags. Too many middle looks for the length. Trim to the strongest two or three or run twelve seconds.
- The face shifts at the end. The person photo was soft or shadowed. Use a sharper, front-facing, evenly lit shot.
- The thumbnail spoils the reveal. The cover shows the after look. Set the cover to the opening frame instead.
- The change is unreadable at a glance. The outfits differ only slightly. Choose looks that differ in outline, not just shade.
Where to go next
If you want to understand why the trick works at all, the trend explainer covers the mechanics of the wipe. If you are ready to build the clip, the step-by-step guide walks through the photos, the length and the ordering. And to make one yourself, this tool is built specifically for the ceiling-fan wipe — start from the main explainer or open the home page.
FAQ
What counts as the before and the after in this trend?
The before is the opening frame, the first look the viewer sees. The after is the closing frame, the final look the clip settles on. Everything between them exists to carry the viewer from one to the other.
How different should the two looks be?
As different as you can make them and still keep the same person. A change of silhouette and colour family reads fastest; a small shade difference will not register in a quarter-second reveal.
Can a clip have a before-and-after and extra looks?
Yes. The middle passes build contrast toward the ending. Keep the strongest look for last and step the changes in one direction, such as light to dark or casual to formal.
Should the last outfit match the first?
Only if you want the clip to loop. Matching the first and last look makes a clean loop; keeping them different makes the reveal stronger. Choose based on whether you want the clip to read as a transformation or a loop.
Do I need to say the clip is AI-generated?
If it was generated rather than filmed, yes — be plain about it and use the platform's AI-content label where one is offered. Saying what the clip is lands better than implying it was a real wardrobe shoot.