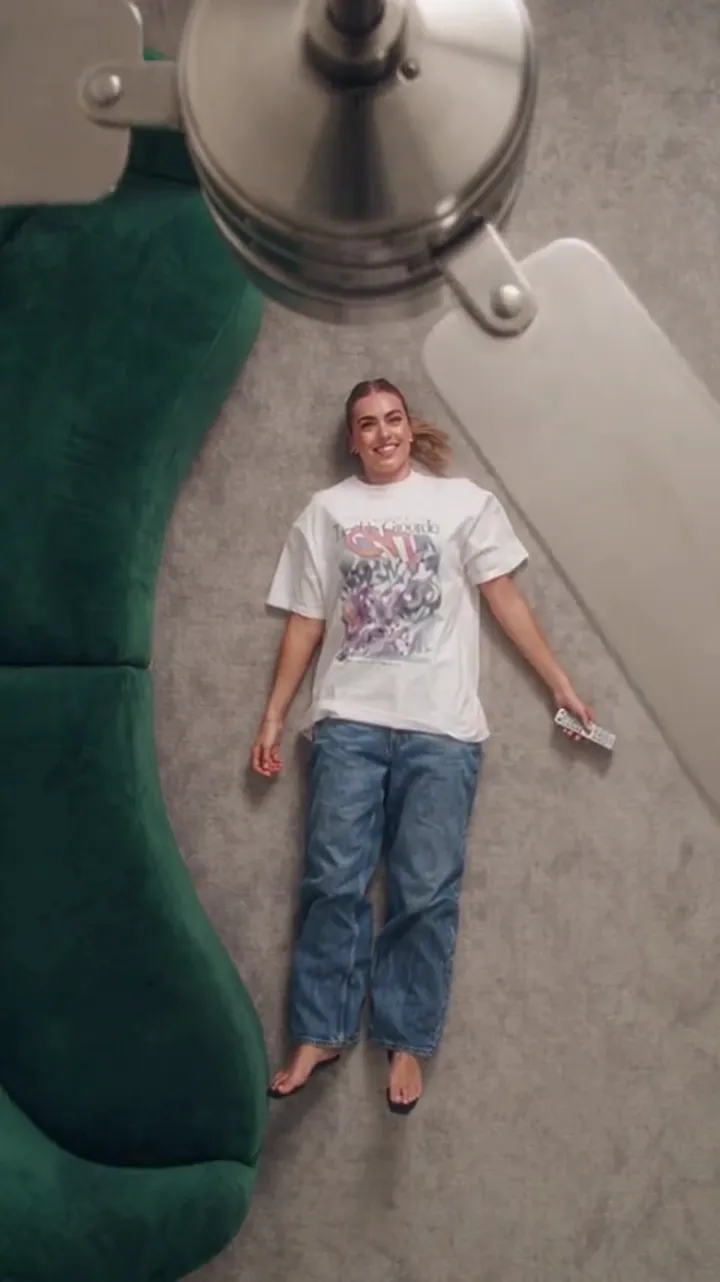
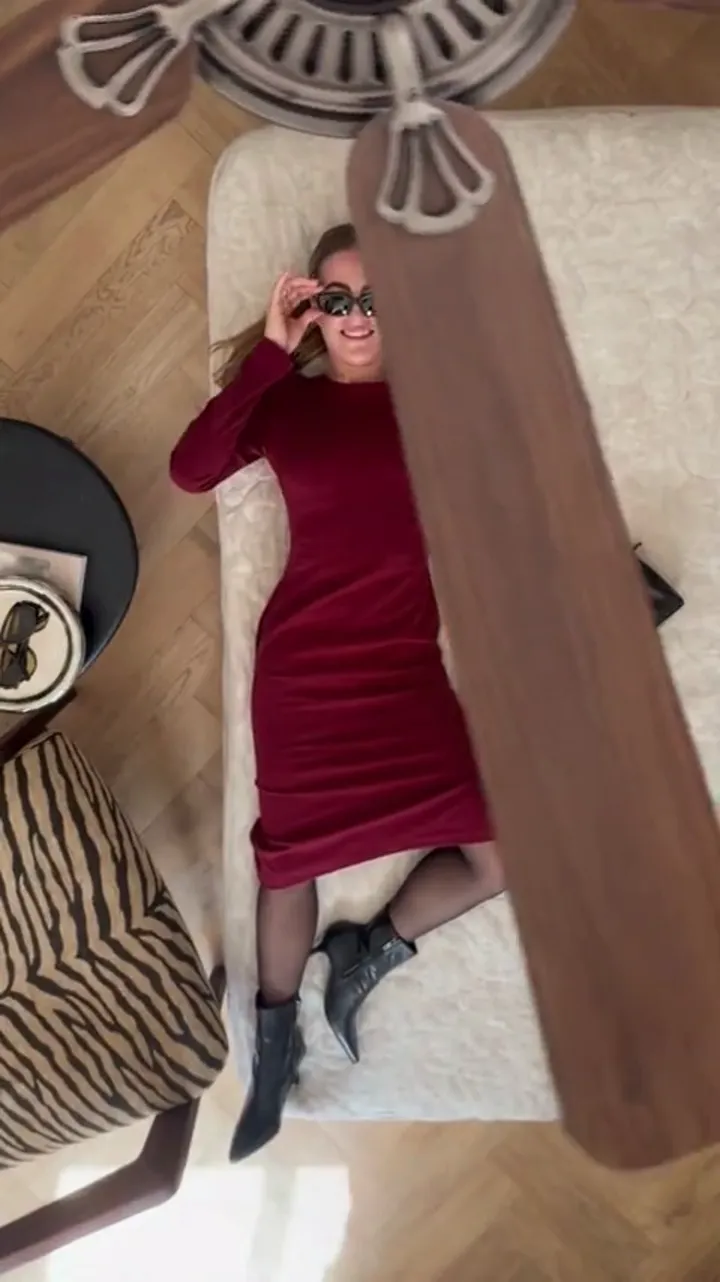
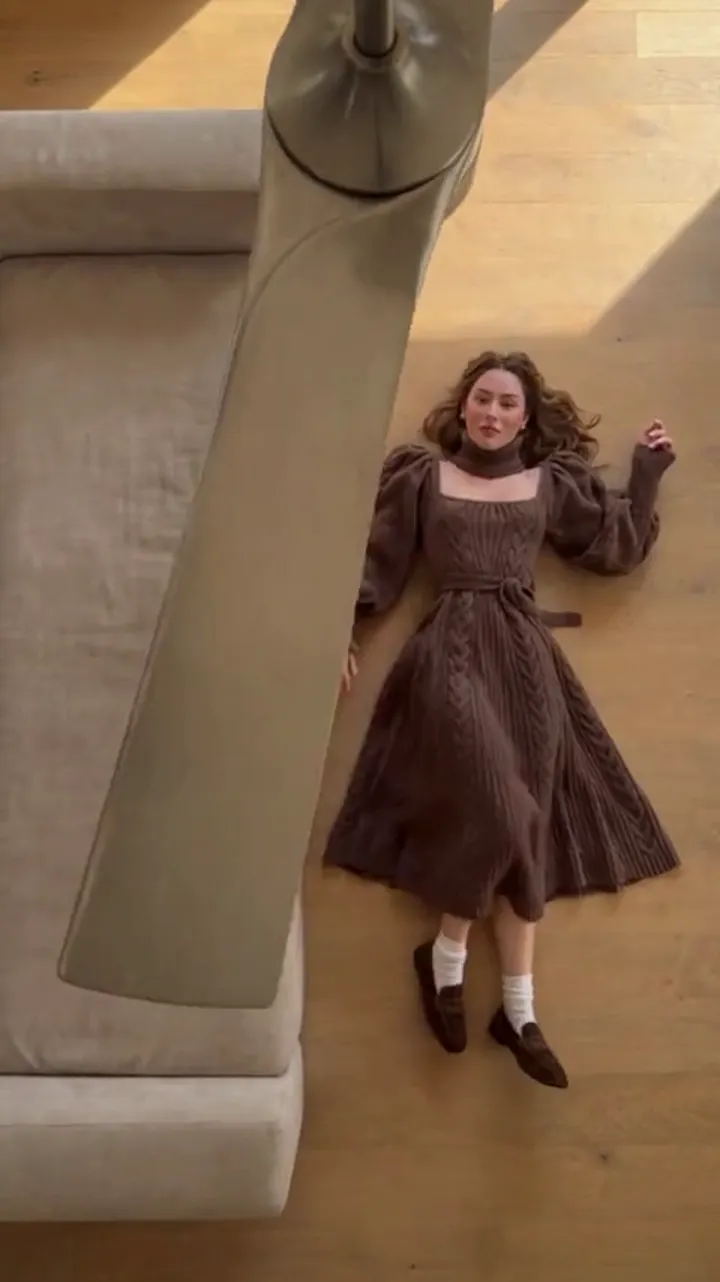
Ceiling Fan Transition for Men: Outfits That Read on Camera
A ceiling fan transition for men needs outfits that survive a fast wipe. Here is how to choose menswear, layer it, and keep the silhouette sharp on camera.
Ceiling Fan AI editorial team · Updated October 12, 2026
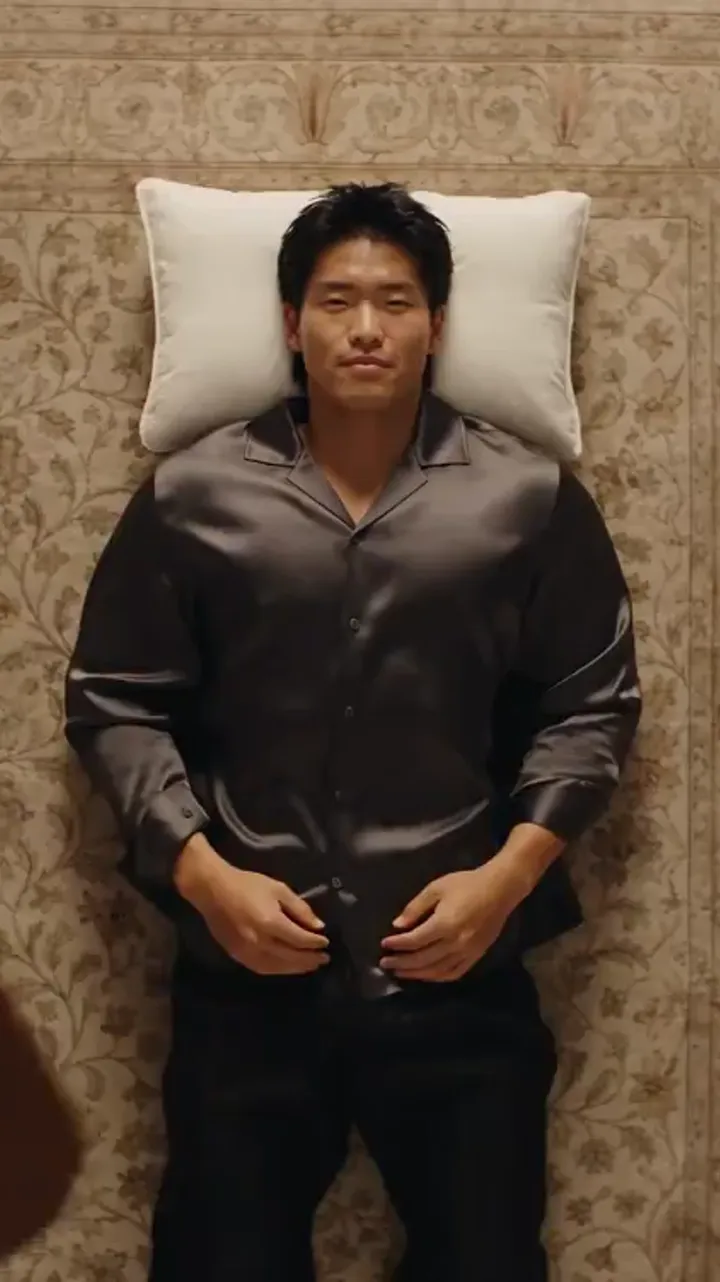
A ceiling fan transition for men lives or dies on how the outfit reads in a fraction of a second. The blade crosses the frame, the person keeps their face, and the wardrobe changes — all faster than a viewer can study a hemline. That means the menswear choices that win here are the ones with a strong overall shape and clear contrast, not the ones with the finest detail.
This guide covers what actually reads when the frame is wiped: which pieces carry a reveal, how to layer without turning into a shapeless block, how to order the looks, and how to set up the reference photo so the face stays put while the clothes change.
Why menswear suits this format
Menswear is built on silhouette, and silhouette is what a fast transition reveals. A change from a boxy overshirt to a fitted jacket is legible in a single frame because the outline of your shoulders and torso shifts. A change from one grey tee to another grey tee of the same cut is invisible, no matter how good both shirts are.
So the working rule for men is simple: change the shape, then the colour. Detail — a print, a button, a stitch — matters less than the outline and the value contrast against the room behind you.
What reads in a fast wipe
- Strong outer shape. Jackets, coats and overshirts change your outline more than any base layer.
- High contrast against the background. A dark look on a light wall, or the reverse, registers instantly.
- One clear block of colour. Two or three tones maximum; a busy print dissolves into noise.
- Clean necklines. A shirt collar or a crew neck reads; a tangled scarf does not.
- Consistent footwear. Keep shoes similar so they do not distract from the change you actually want seen.
If you want a double-take, put two looks that share nothing next to each other. If you want a smooth transformation, move one step at a time.
Layering that survives the wipe
Layering is where most men overreach. Each extra piece is another edge the transition has to redraw, and if the layers blur into one mass the outfit loses its shape.
Two layers, clearly separated
A base layer and one outer piece is the sweet spot: a tee under an open overshirt, a knit under a jacket. The two layers should differ in tone so the opening edge is visible, which is what makes the silhouette read.
One statement layer, one quiet one
Let the outer piece carry the colour or texture and keep the base neutral, or reverse it. Fighting layers — a loud shirt under a loud coat — cancel each other out in a small frame.
Avoid the padded stack
A heavy coat over a hoodie over a sweater turns into a single round mass in a vertical crop. If it is cold, keep the big layer and drop the middle one.
Keep the waist defined
An open layer that ends near the hip keeps a waistline visible. A long layer over a loose base removes it, and the frame reads as a rectangle.
Silhouette: fitted versus loose
Loose and fitted are both fine, but each look should commit to one. The mistake is a middle setting where nothing looks intentional.
| Silhouette | How it reads on camera | Pair it with | Avoid |
|---|---|---|---|
| Fitted | Sharp, tailored, deliberate | Straight trousers, minimal layers | Tight over tight, which flattens the shape |
| Oversized | Relaxed, contemporary, wide shoulders | A snug base layer for contrast | Oversized head to toe, which rounds the frame |
| Straight classic | Safe, timeless, easy to read | One accent piece | All-neutral with no contrast, which reads flat |
Alternating between two of these across the passes is the fastest way to make each reveal obvious: fitted, then relaxed, then fitted again, each a different colour.
Colour and contrast
Contrast does the work a close-up would in a still photo. Because the frame is tall and the wipe is quick, choose tones that separate from the room preset you generate in.
- Light room, dark outfits. A bright neutral wall makes black, navy and deep green pop.
- Dark room, light outfits. A dim loft preset makes cream, stone and pale grey read first.
- One accent per look. A single saturated piece — a shirt, a cap, a jacket — beats several muted ones.
- Skin tone and hair are fixed. Your face is preserved, so treat it as a constant and let colour do the changing.
Keep an eye on pattern scale. A fine pinstripe reads as a flat grey at video size; a bold check reads as a clear graphic. When in doubt, go bolder rather than finer.
Ordering the looks
The reveal order is the story. Because the clip shows outfits in the sequence you add them, decide that sequence before you upload.
- Open in your baseline. The everyday outfit the viewer assumes is "you".
- Move one axis at a time. Change formality or colour, then change the other.
- Build to the strongest look. Put the outfit you most want remembered in the final slot.
- Consider a round trip for short clips. Start and end in the same look so a 6-second clip loops cleanly.
- Keep shoes and accessories steady. Swap only the layers and the base.
If you only have two outfits you genuinely like, use them and choose the shorter clip. Two strong reveals beat four muddy ones.
Setting up the reference photo
The person photo is the anchor: your face, hair and build stay put while everything else changes. A tidy setup here is worth more than any wording in the prompt.
- Face the camera straight on, in even light. Soft, flat light beats a dramatic side light.
- Frame from the waist or chest up, with room above your head in the vertical crop.
- Keep your pose relaxed and symmetrical: shoulders level, arms clear of your face.
- Avoid hats that hide the hairline, sunglasses, and hands near the chin.
- Wear the baseline outfit in the reference photo so the first pass opens from a known look.
Shoot the outfit photos the same way — same pose, same distance, neutral background — so the model has one body plan to hold.
Writing the outfit list
The text you supply is a wardrobe list in reveal order, not a description of a scene. You do not need to describe the ceiling fan; the preset handles that. Skip words about the room, the camera or the blade, and spend the prompt on the clothes.
Something as plain as "look one: plain white tee and open olive overshirt; look two: black fitted jacket and white shirt; look three: grey knit and straight navy trousers; look four: cream coat over dark base" tells the model exactly what to build. Keep each look to a couple of pieces and a clear colour.
What tends to go wrong
- The reveal is invisible. Usually a colour or silhouette change that was too subtle. Change the shape or the value.
- You look like a block. Too many layers or an over-long outer piece. Drop one layer or shorten the outline.
- The face drifts. Almost always the source photo. Use flatter light and a sharper, front-on shot.
- The collar or hands morph between passes. Fine detail on a moving edge is where generated video is weakest; simplify the neckline.
FAQ
What should men wear for this trend?
Looks with a strong outline and clear contrast: jackets, overshirts, coats and structured knits, one accent colour per look, and uncluttered necklines. Change the silhouette between passes, not just the shade.
How many outfits should a man plan?
Up to four outfit photos go in, and a 12-second clip fits about three or four changes while a 6-second clip fits one or two. Plan the number of changes you can actually read.
Do I need to be fitted or oversized?
Either, but commit. Alternate between the two across the passes and the reveals become obvious. The middle ground, where nothing looks intentional, reads worst on camera.
How do I keep my face consistent?
Upload one sharp, evenly lit, front-facing photo and shoot every outfit photo in the same pose. A clean source photo does more than anything you write in the prompt.
Does the prompt need to describe the fan?
No. The fan blade and the wipe are fixed by the preset. Use the text for the outfit list in reveal order and keep the scene description out of it.
What does a clip cost?
The price depends on length and resolution, not on the number of outfits. A default 1080p, 12-second generation is 30 credits, and the pricing page lists the pack and plan totals.
For the general workflow, read the ceiling fan outfit change guide, and for prompt wording see the prompt examples.